
Customer Communication
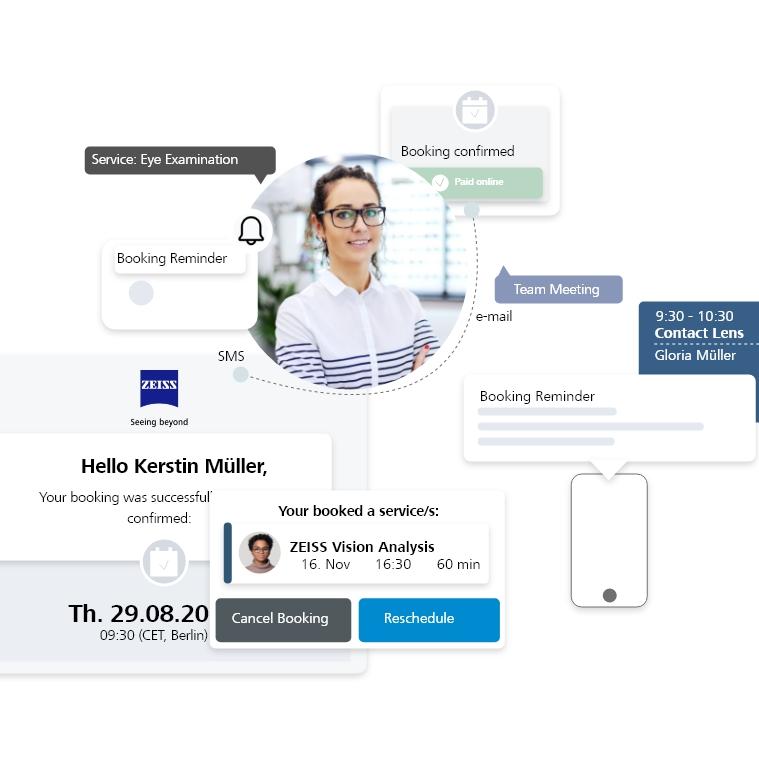
Automatically send appointment confirmations and reminders.Avoid the back and forth communication around appointment scheduling and reduce no-shows by sending as many reminders as required by SMS or email. Notify your team and your customer of any changes in bookings automatically.

How to enable booking emails (confirmations, cancellations, and reminder) to be sent in the preferred language of customers and resources
Email language selection is available for resources and customers associated with ZEISS A.R.M. Platform enterprise rules.
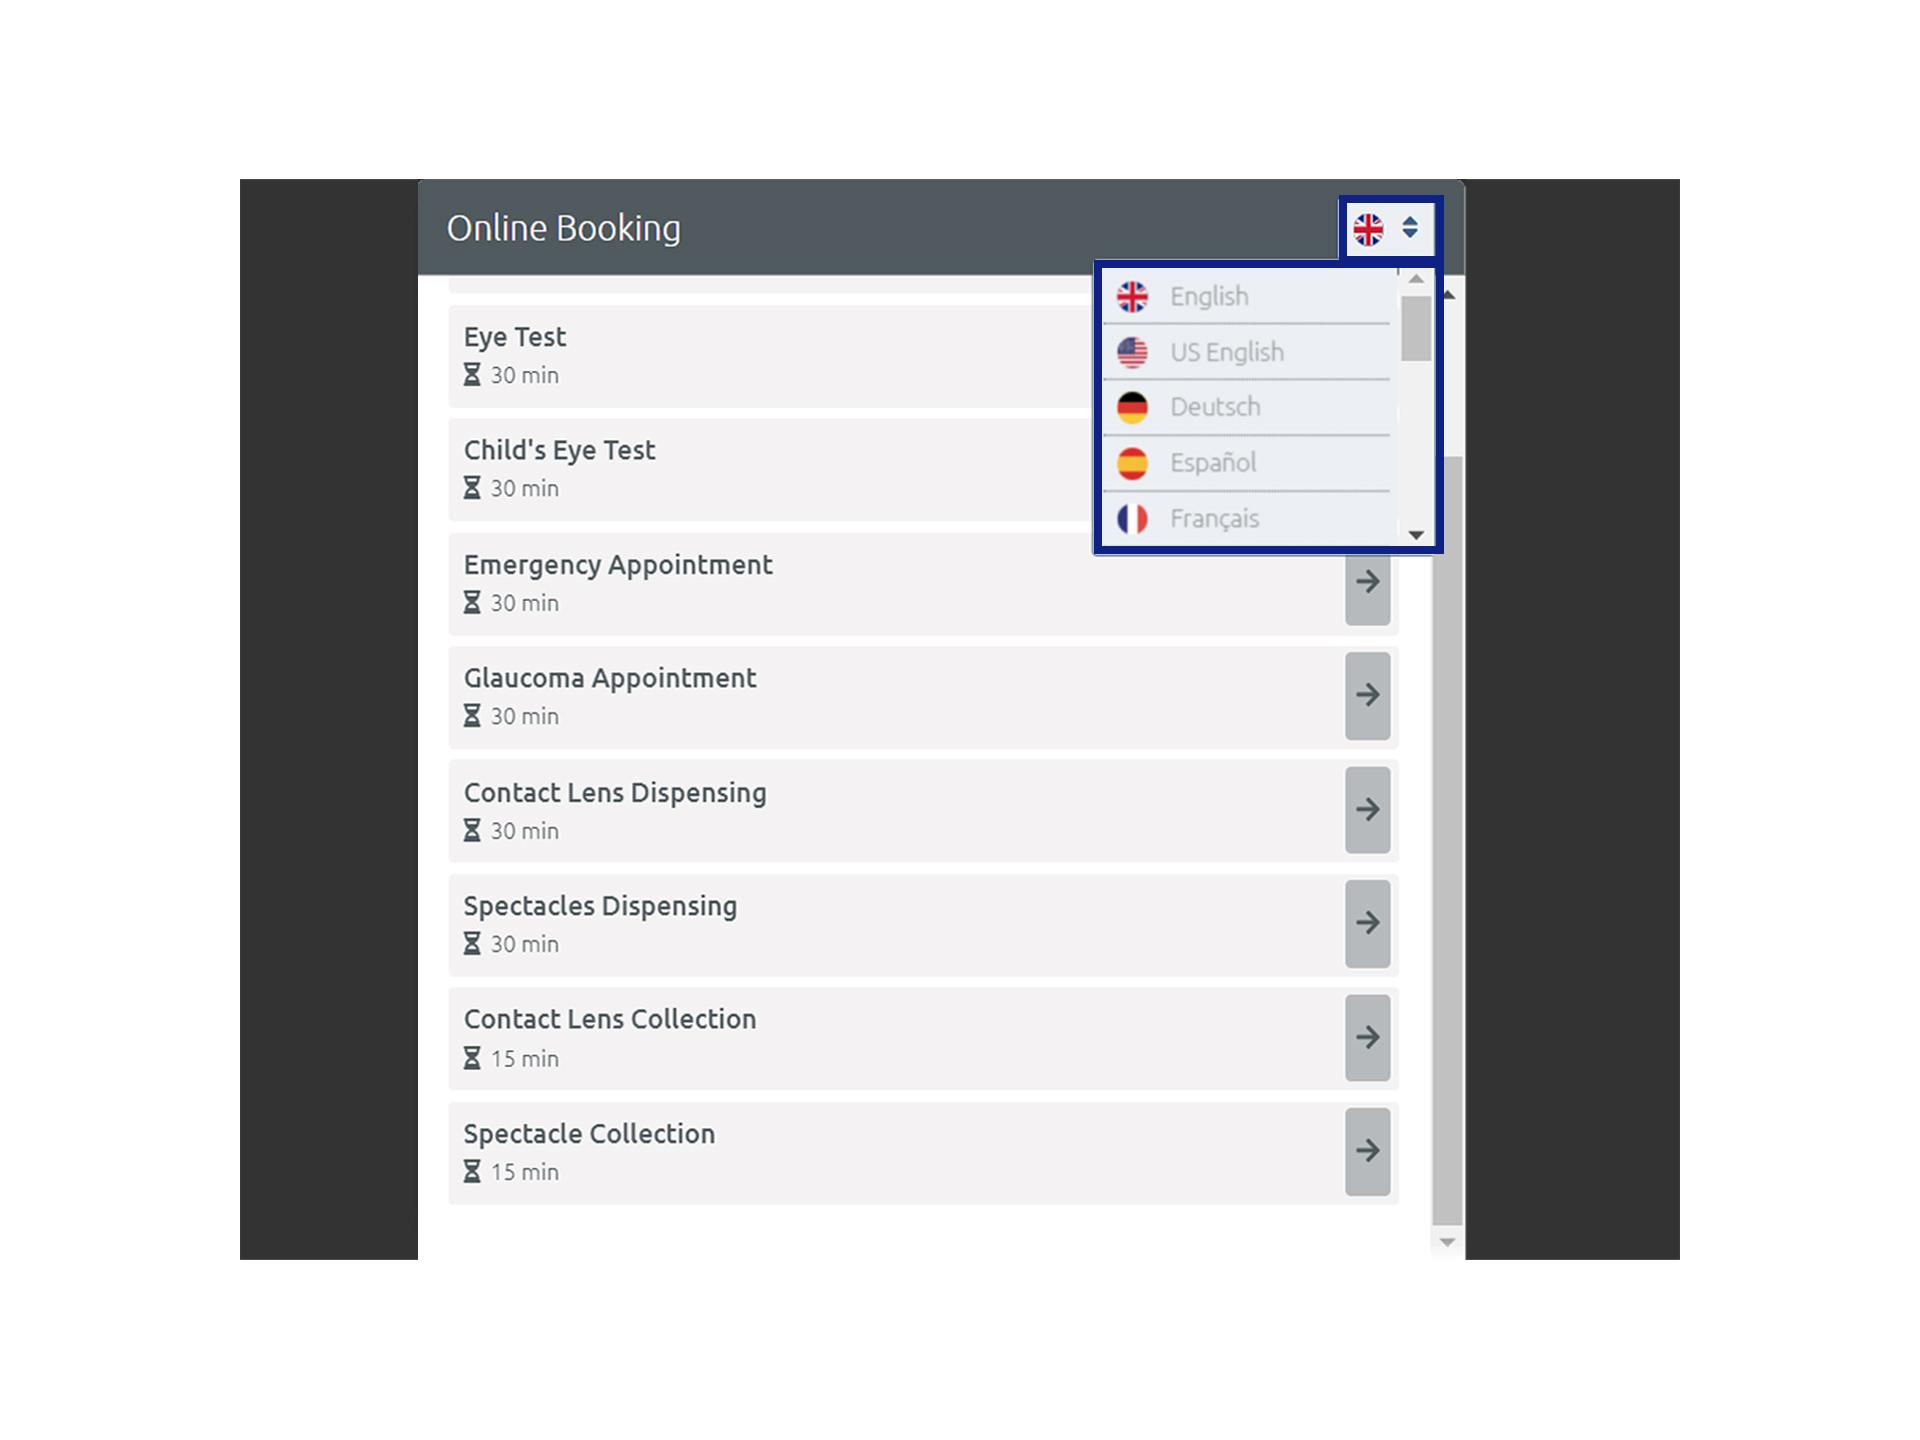

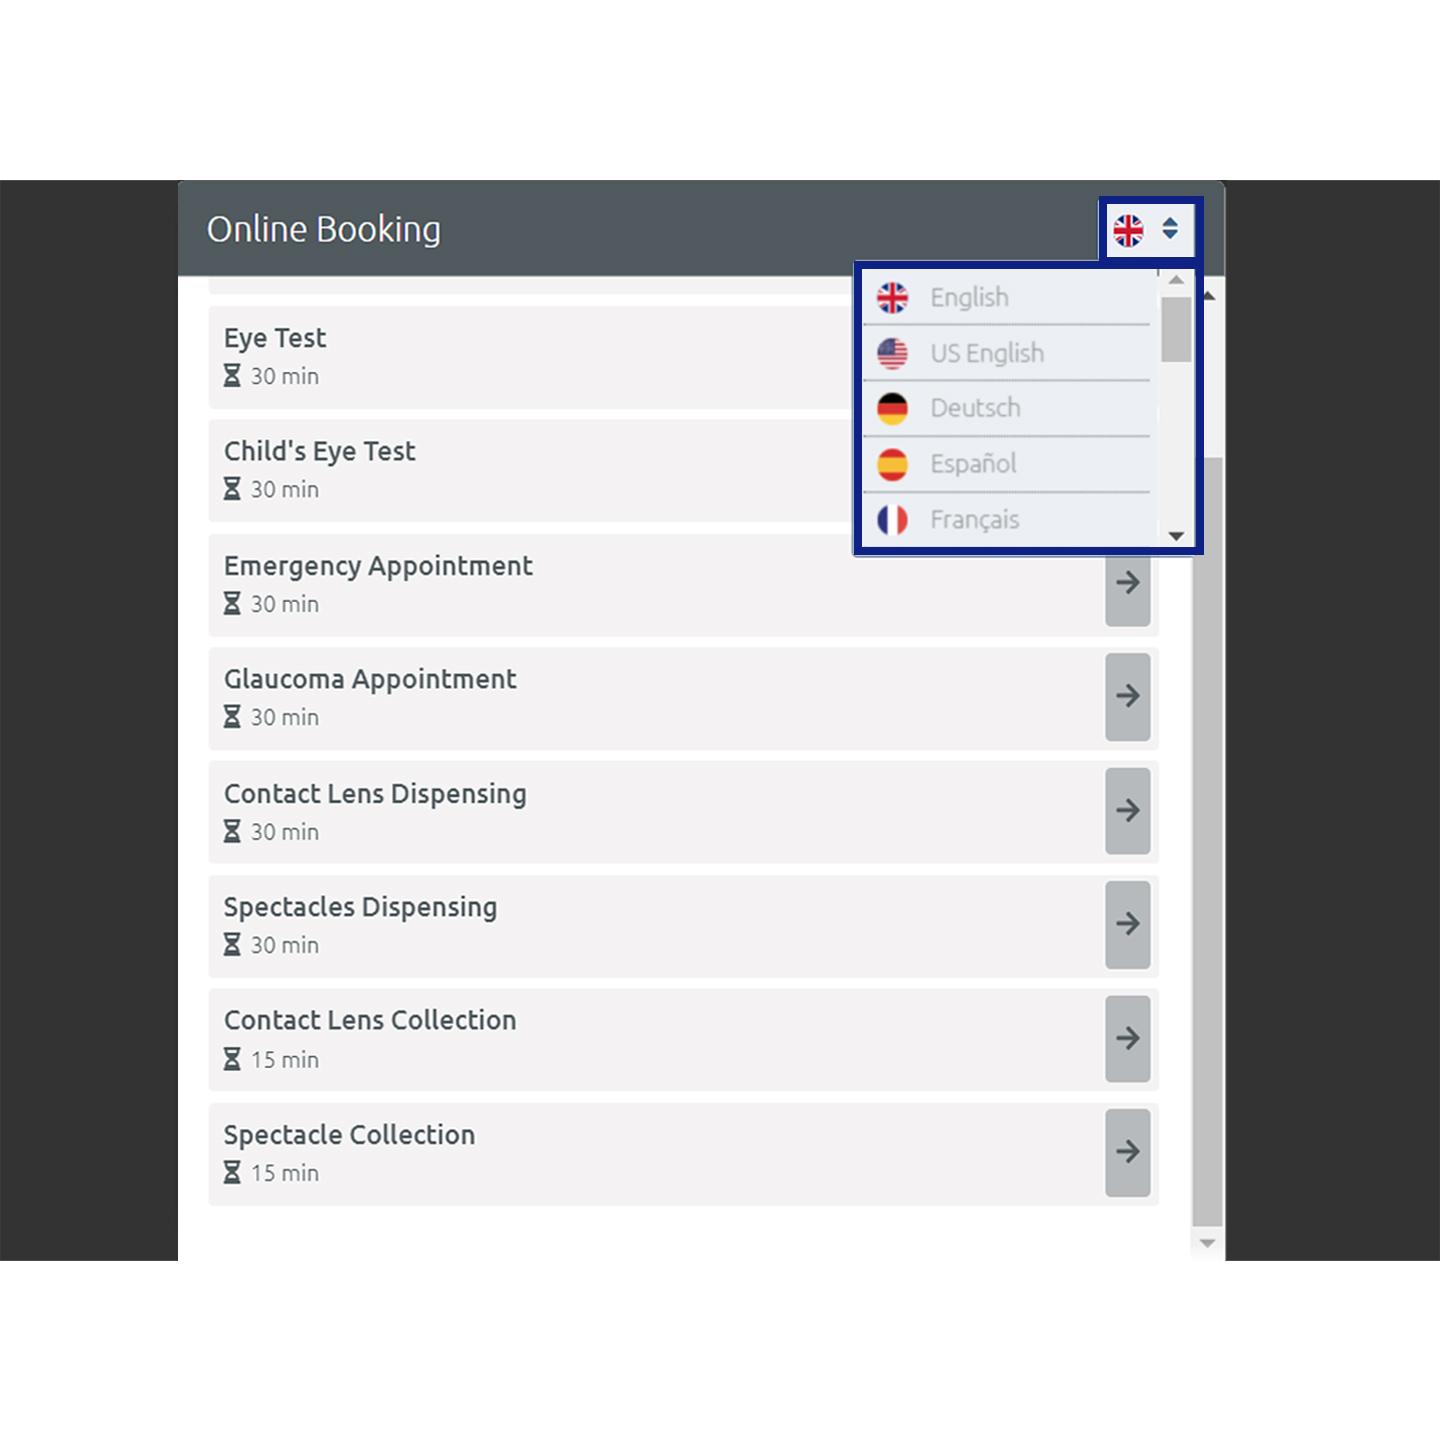
1. How to activate your booking widget language dropdown
- Go to "Settings" >> "Bookings" >> "Widget". The Language Selector setting appears first. If it's not already enabled, click on edit "Settings", enable it, and hit save.
- Now, if you check out your booking widget a drop-down will appear on the top left, allowing customers to select their preferred language.
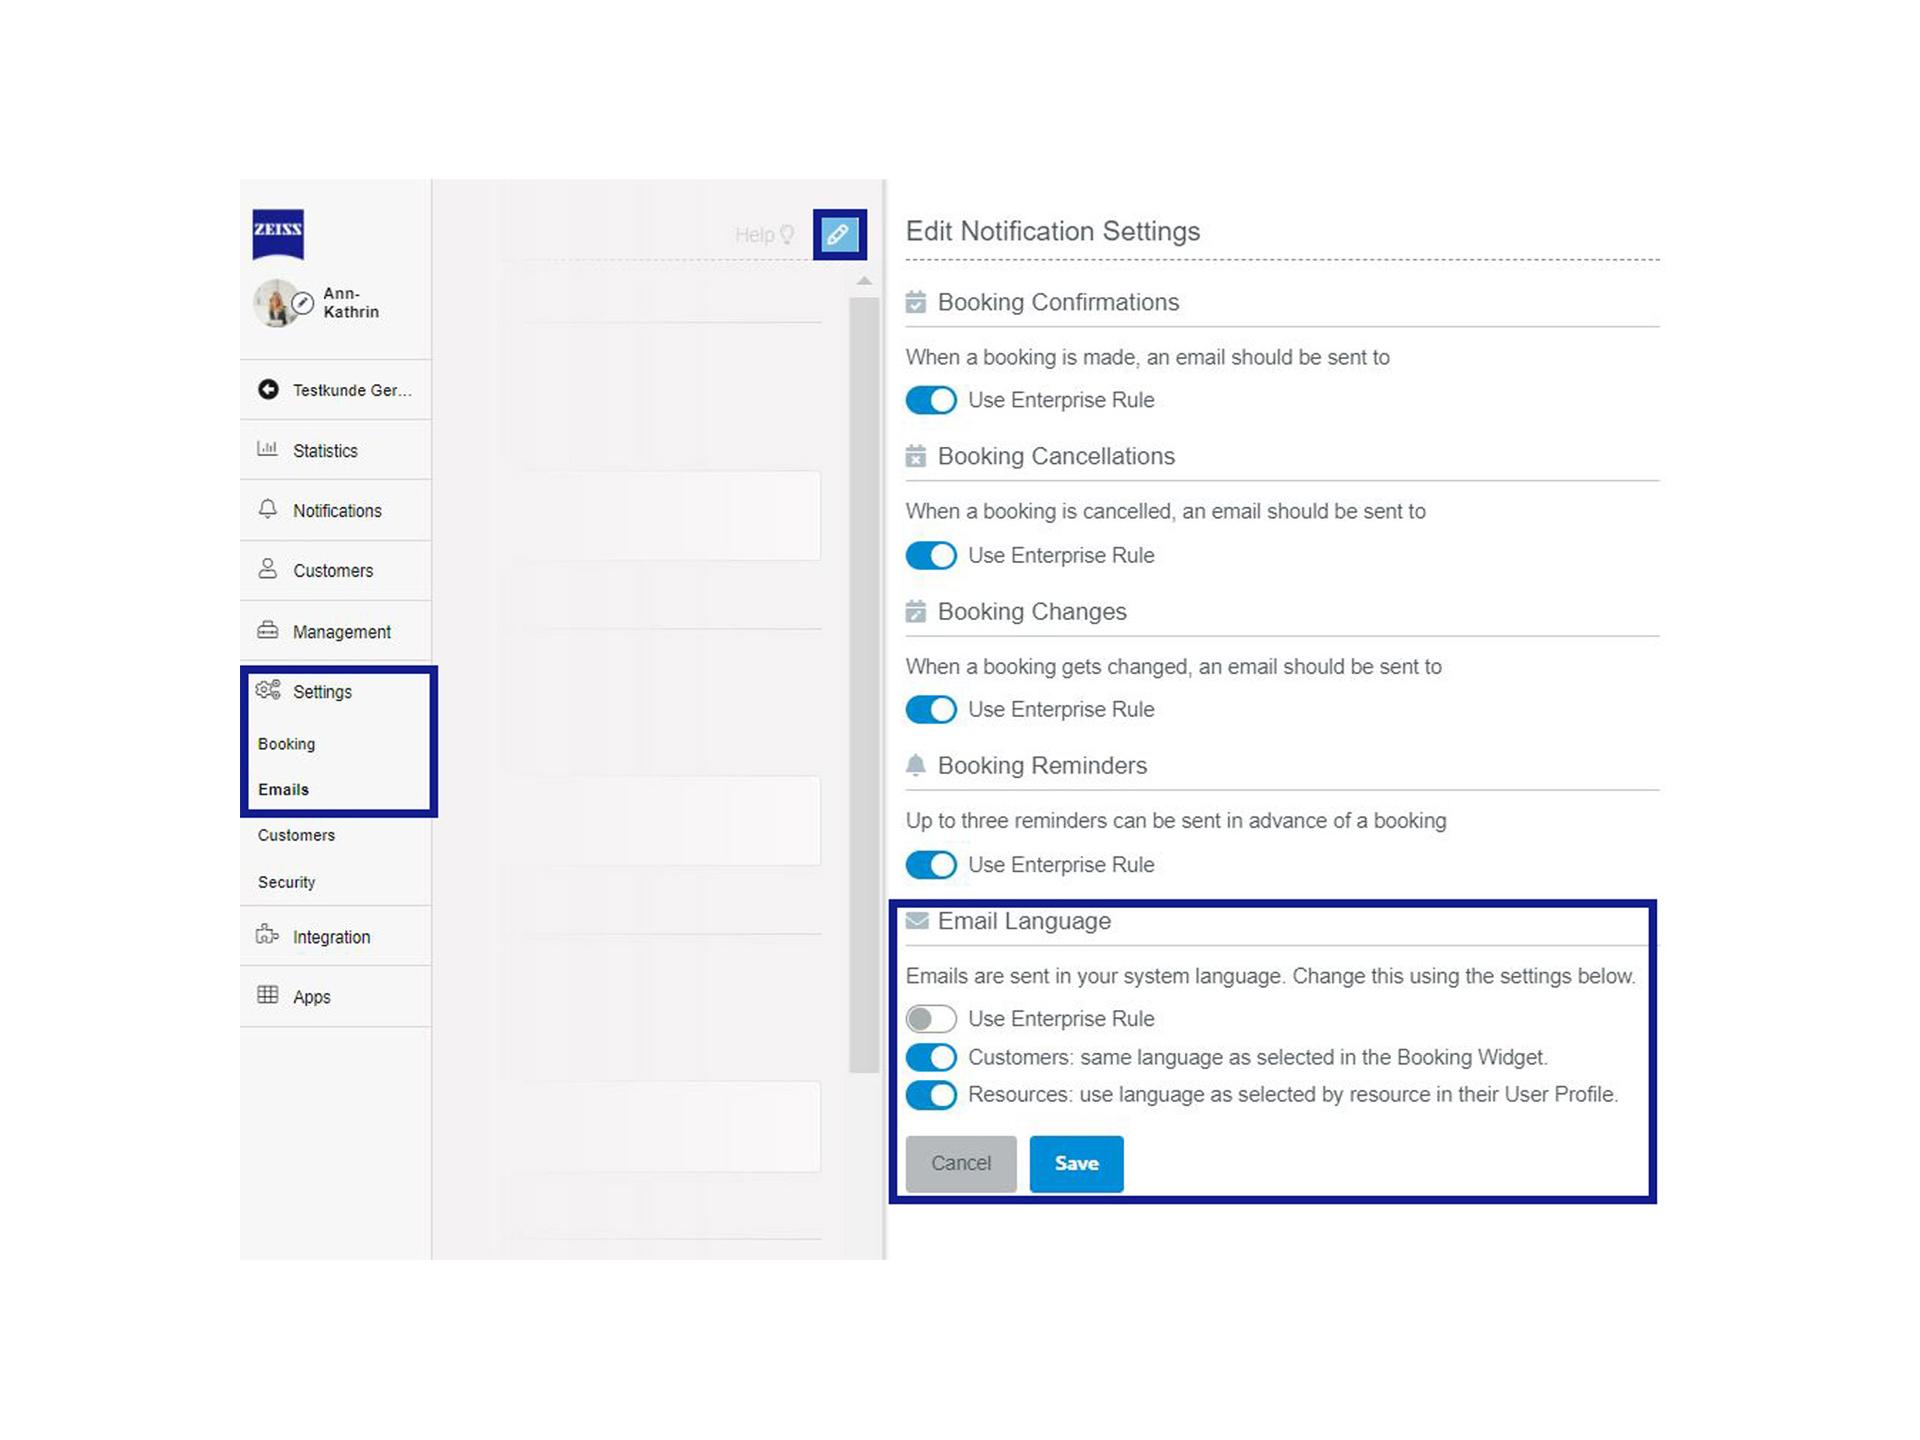

2. How to enable customers and/or resources to receive emails in their preferred language
- Go to the "Settings" >> "Emails", then click on the blue pen (Edit Settings).
- Scroll down to the bottom of the settings form. Now you can enable customers and/or resources to select their preferred language.
- For customers, there is nothing more you need to do: the next time they schedule online, the email confirmation and any reminders will appear in the same language they selected from the language selector dropdown.
- Resources will also receive emails in the language of their account. To update their language, resources can simply go to the User preference menu and select their preferred language.

How to set up email notifications and reminders
- With the ZEISS A.R.M. Platform, you can automatically send an email notification with all event details to both your employees and your customers.
- The email also has a .ics file attached, with which the appointment can be imported directly into the private calendar
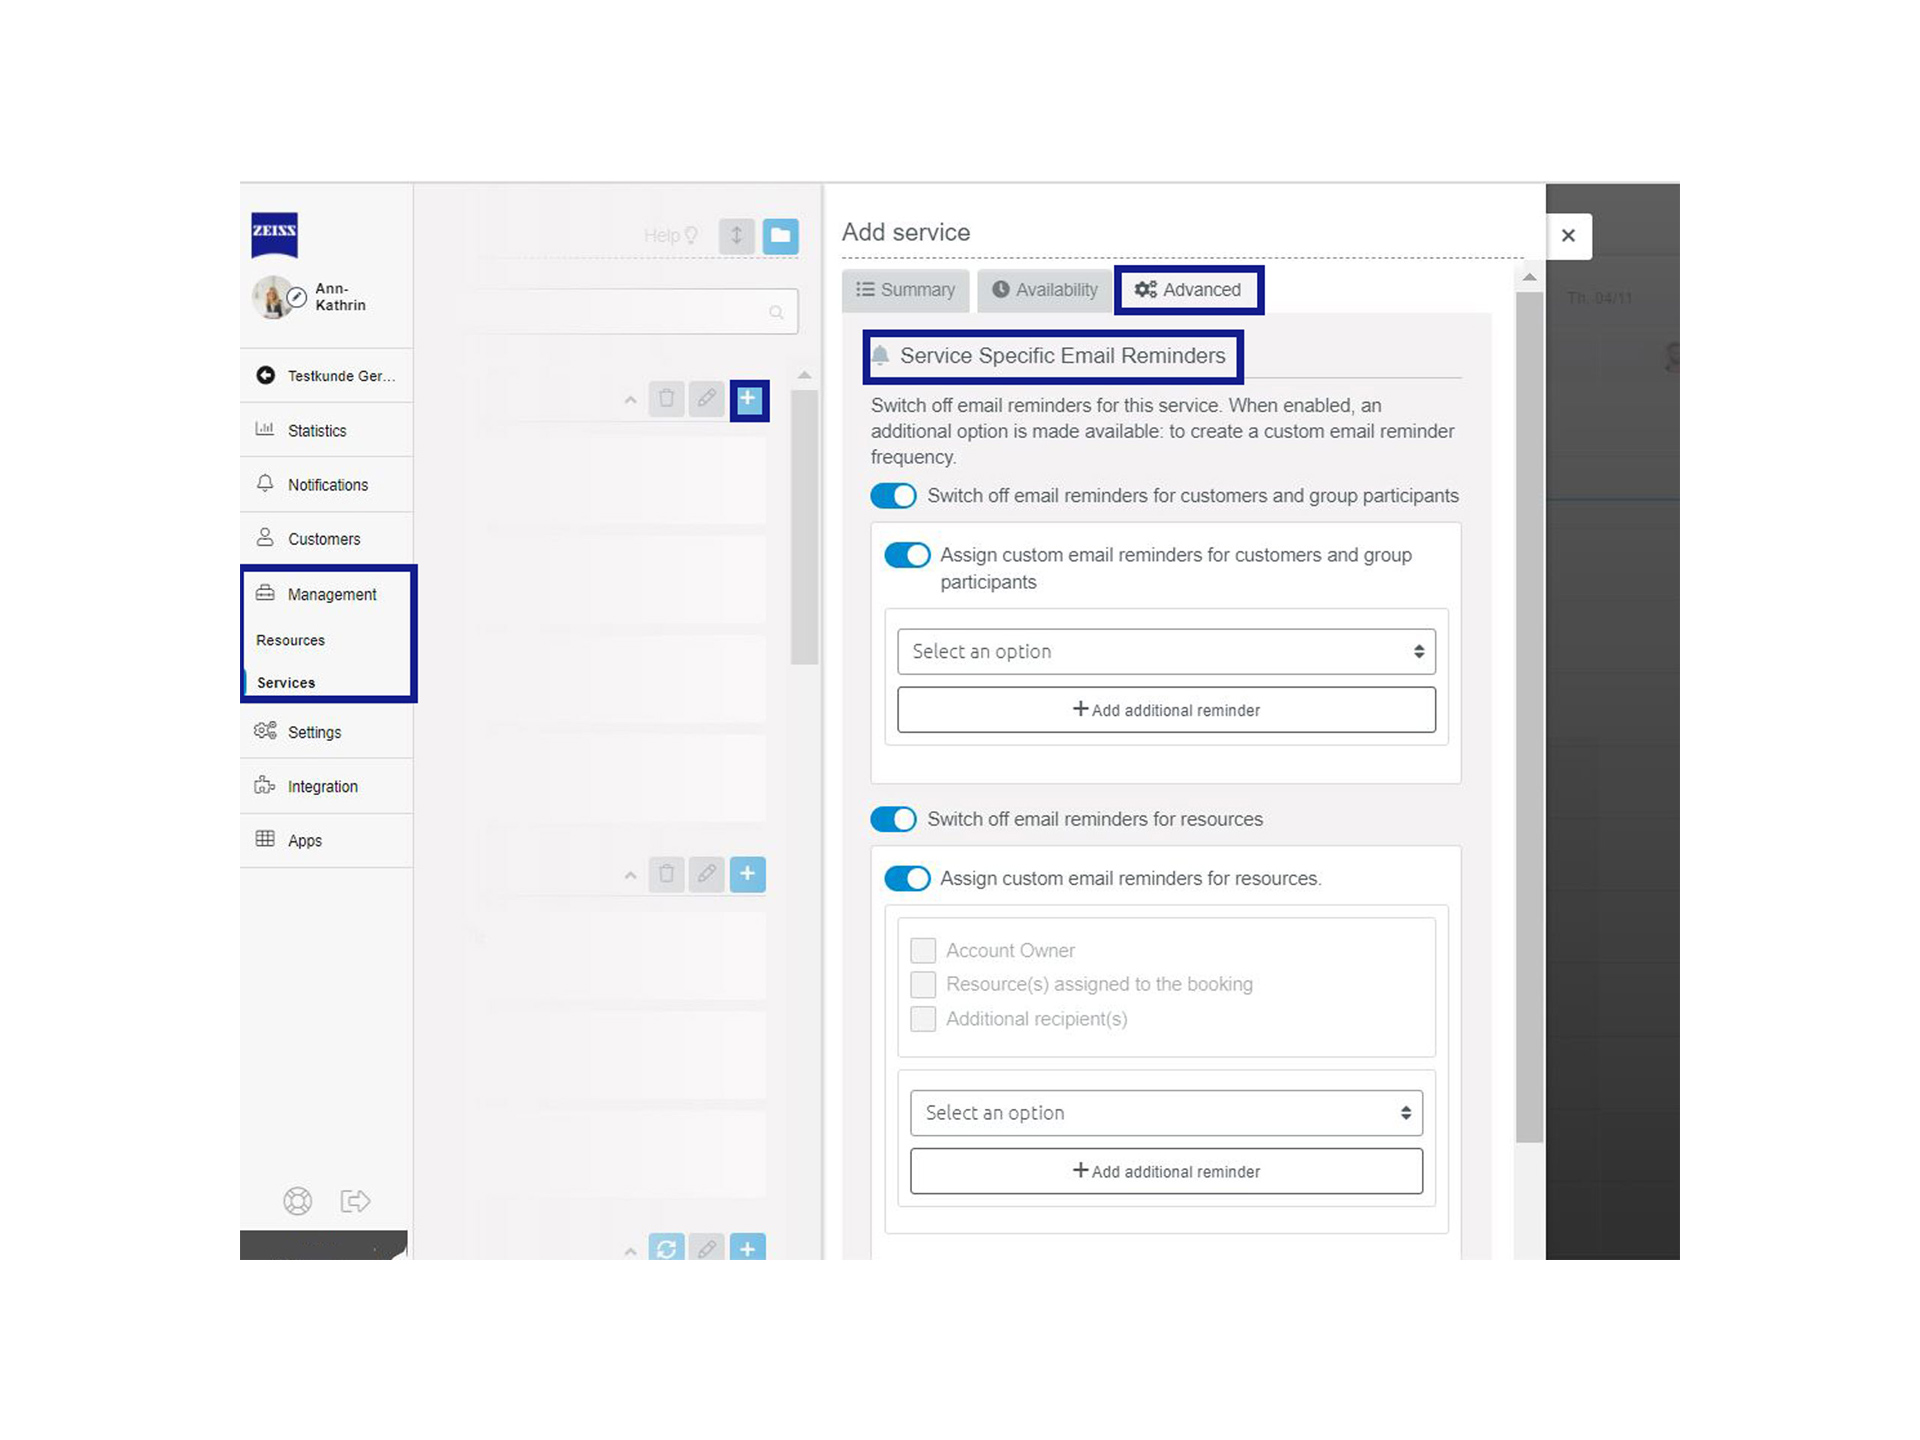

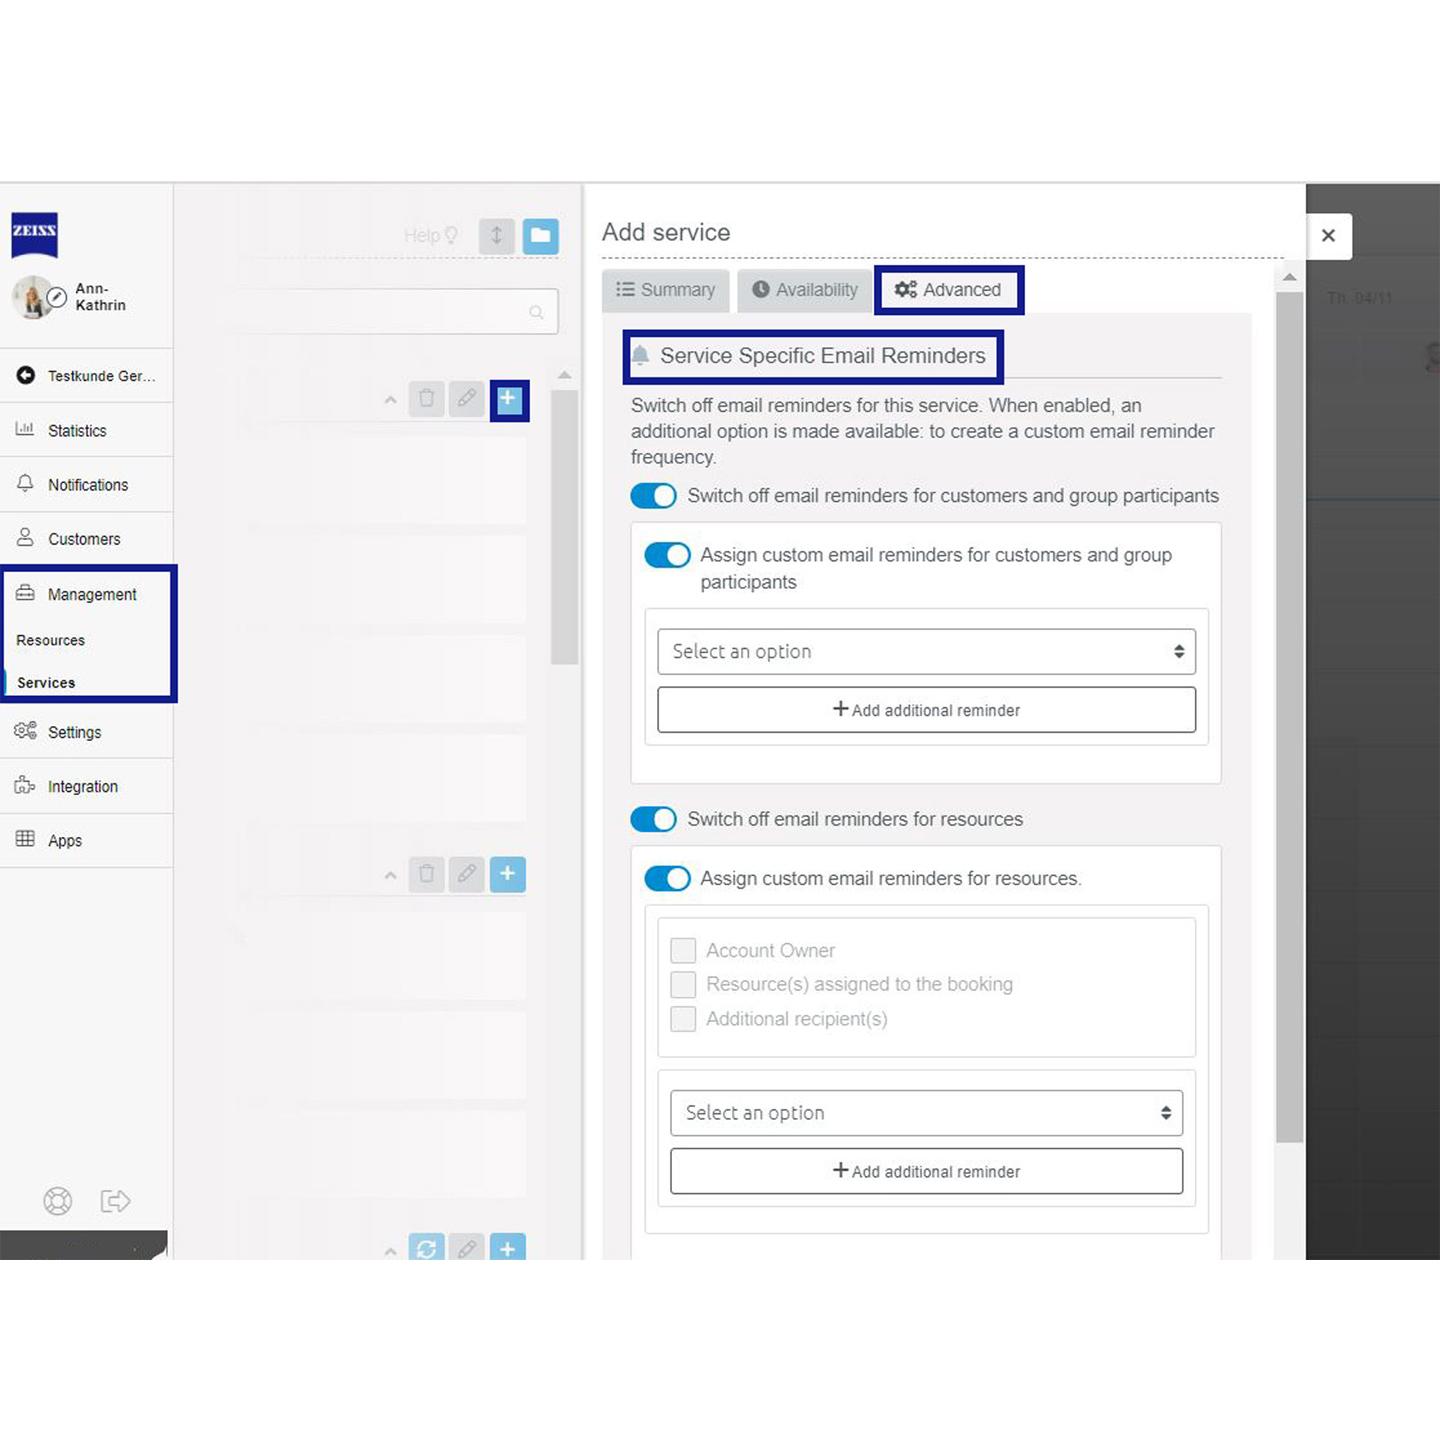
1. Service reminders:
- Activate booking reminders on service level and specify how many hours before the appointment a reminder should be sent to the customer.
- Go to "Management" >> "Service", choose a service you wish to set up reminders for. Go to the Advanced tab. You have the option to choose a period between 1 hour to 3 days before the appointment, and you can have a maximum of 3 reminders.
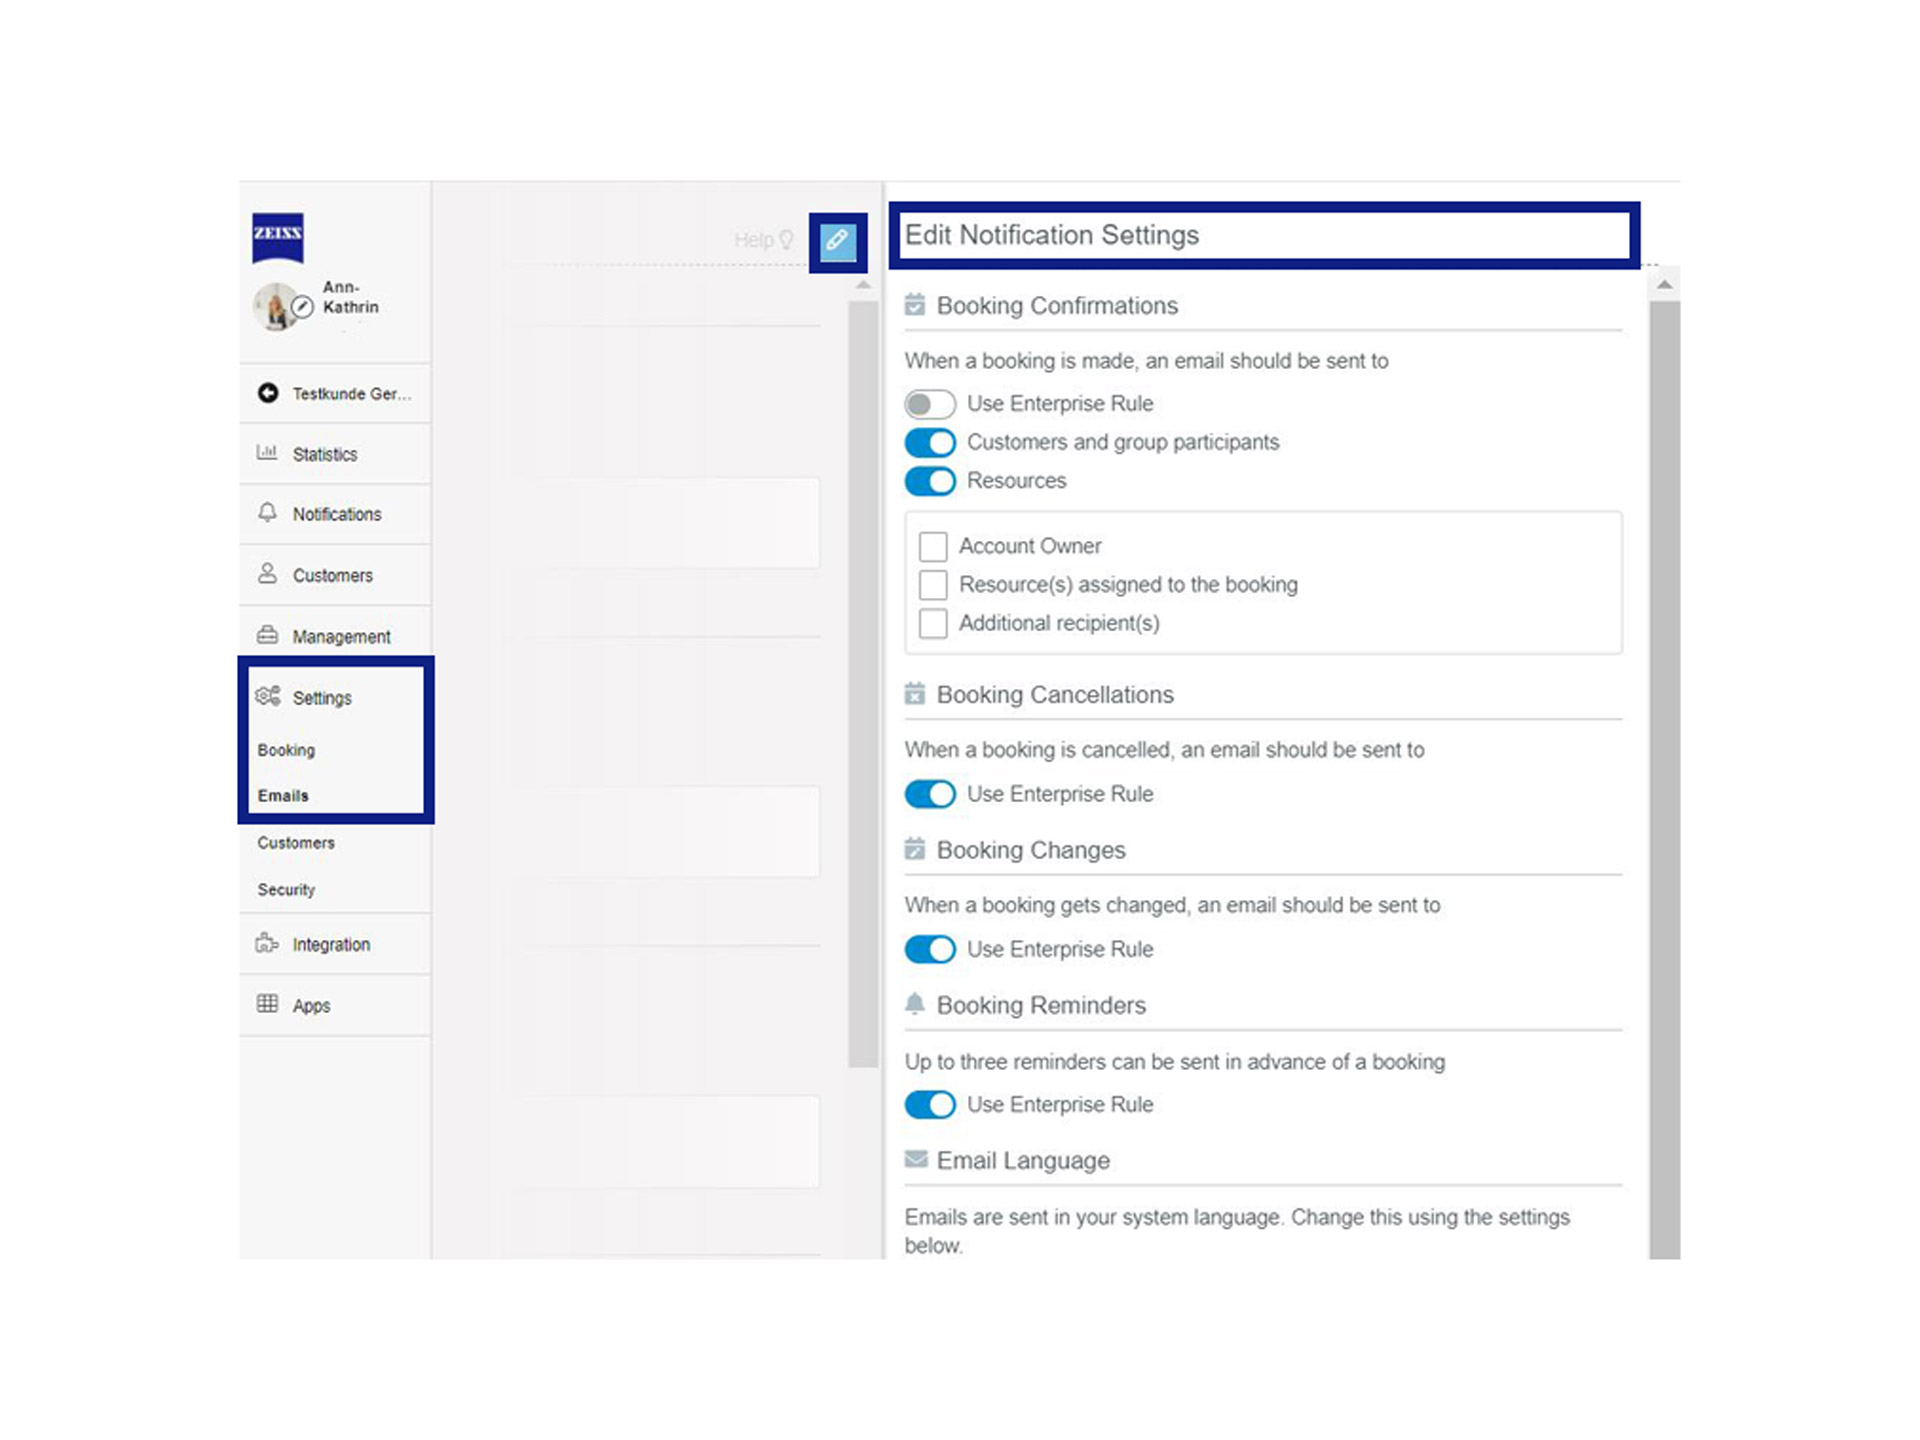

2. Global reminders:
- The global reminders take higher priority over the service reminders. Once you configure them, they will apply automatically to all active services.
- Go to "Settings" >> "Emails" and edit the email settings. Scroll down to the "Booking reminders" and set your reminders. As you probably noticed, the "Staff reminders" options are not available. That is because global reminders have a higher priority over service reminders and you can only choose here to whom you want those reminders to go to. In "Additional recipients" you can add up to 3 recipients of your choice, that could be your backup mailbox.
3. Deactivating email reminders
IMPORTANT! Keep in mind that if you have active bookings in your calendar, and you decide to deactivate the reminders, the email reminder will still be received by these customers. Changes are only applied for new appointments.

How to import customer data to the ZEISS A.R.M. Platform
With the TIMIFY Import app you can import your current customer, employee and service lists to your ZEISS A.R.M. Platform.

Customer import
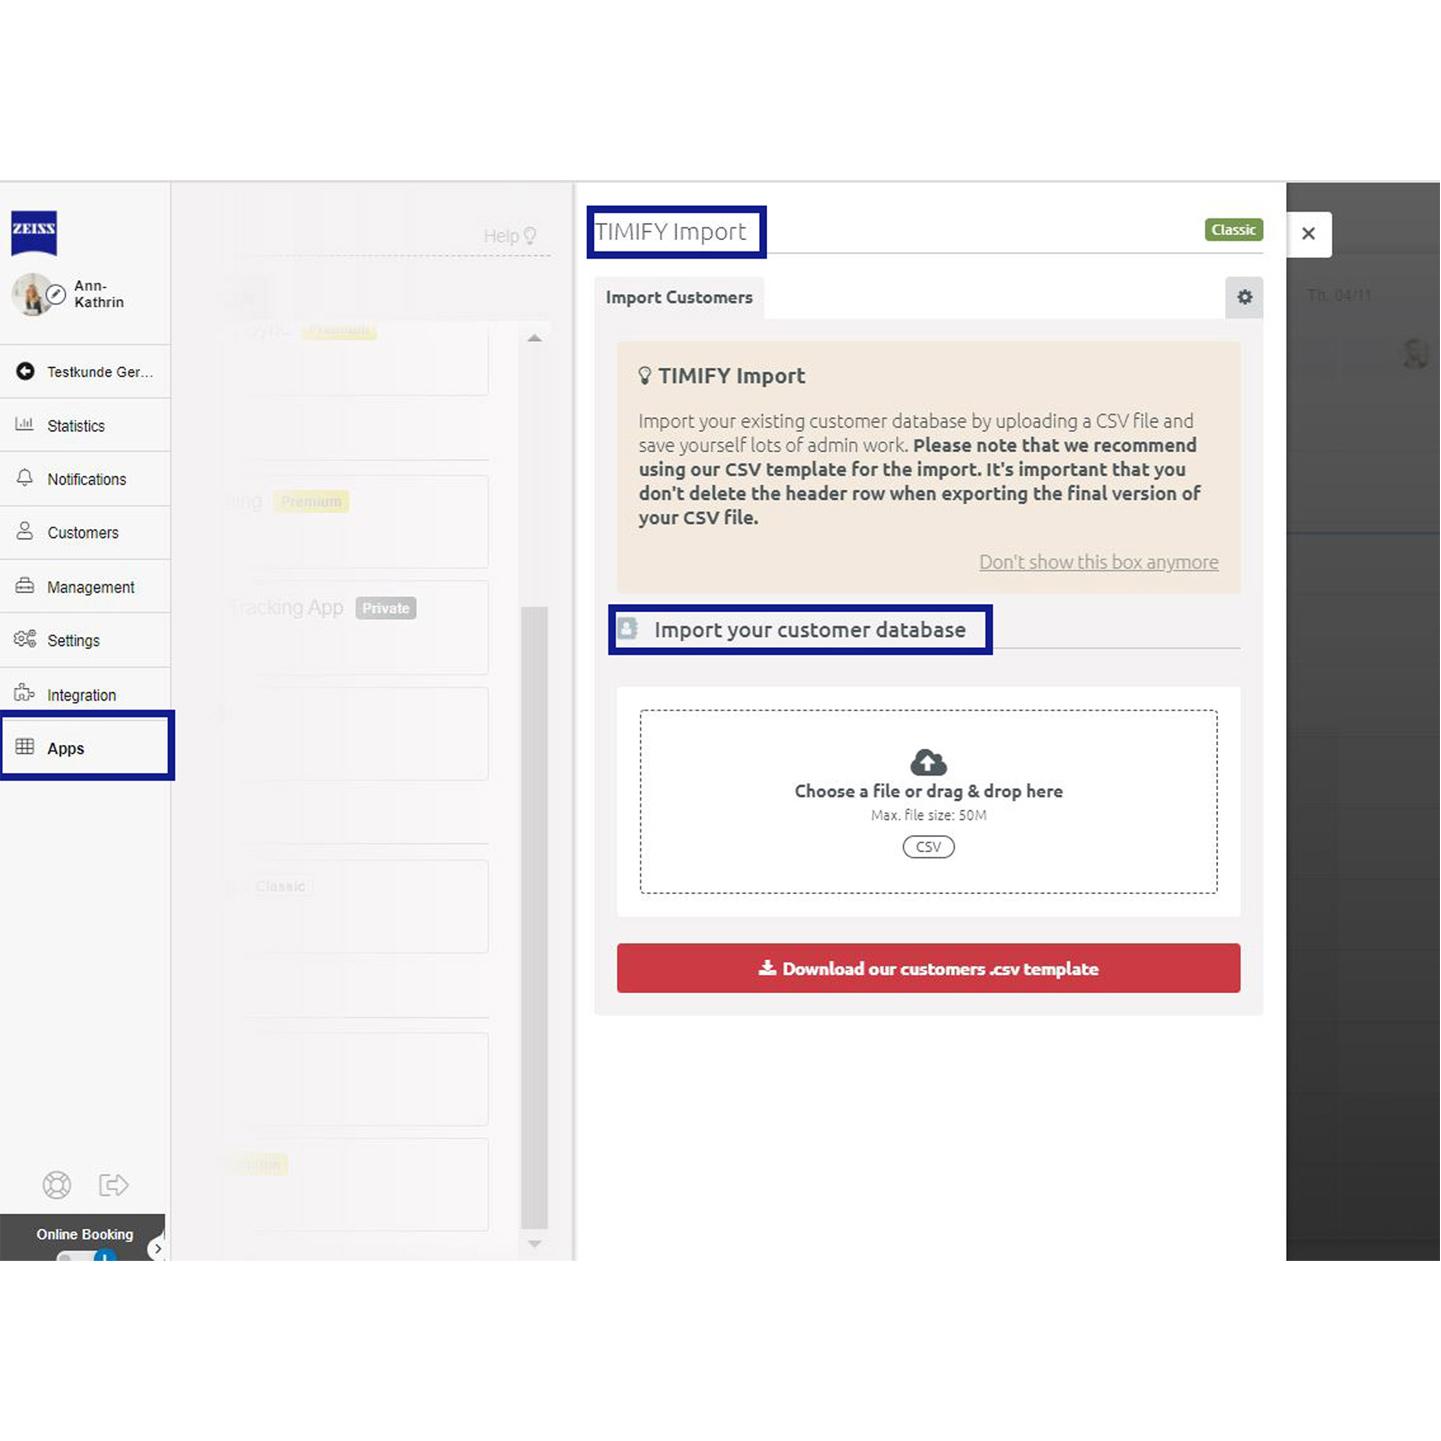
Step 1: To use the import app, go to the menu item "Apps". Select TIMIFY Import app in the category CRM.
Step 2: Agree to the privacy agreements and install the app.
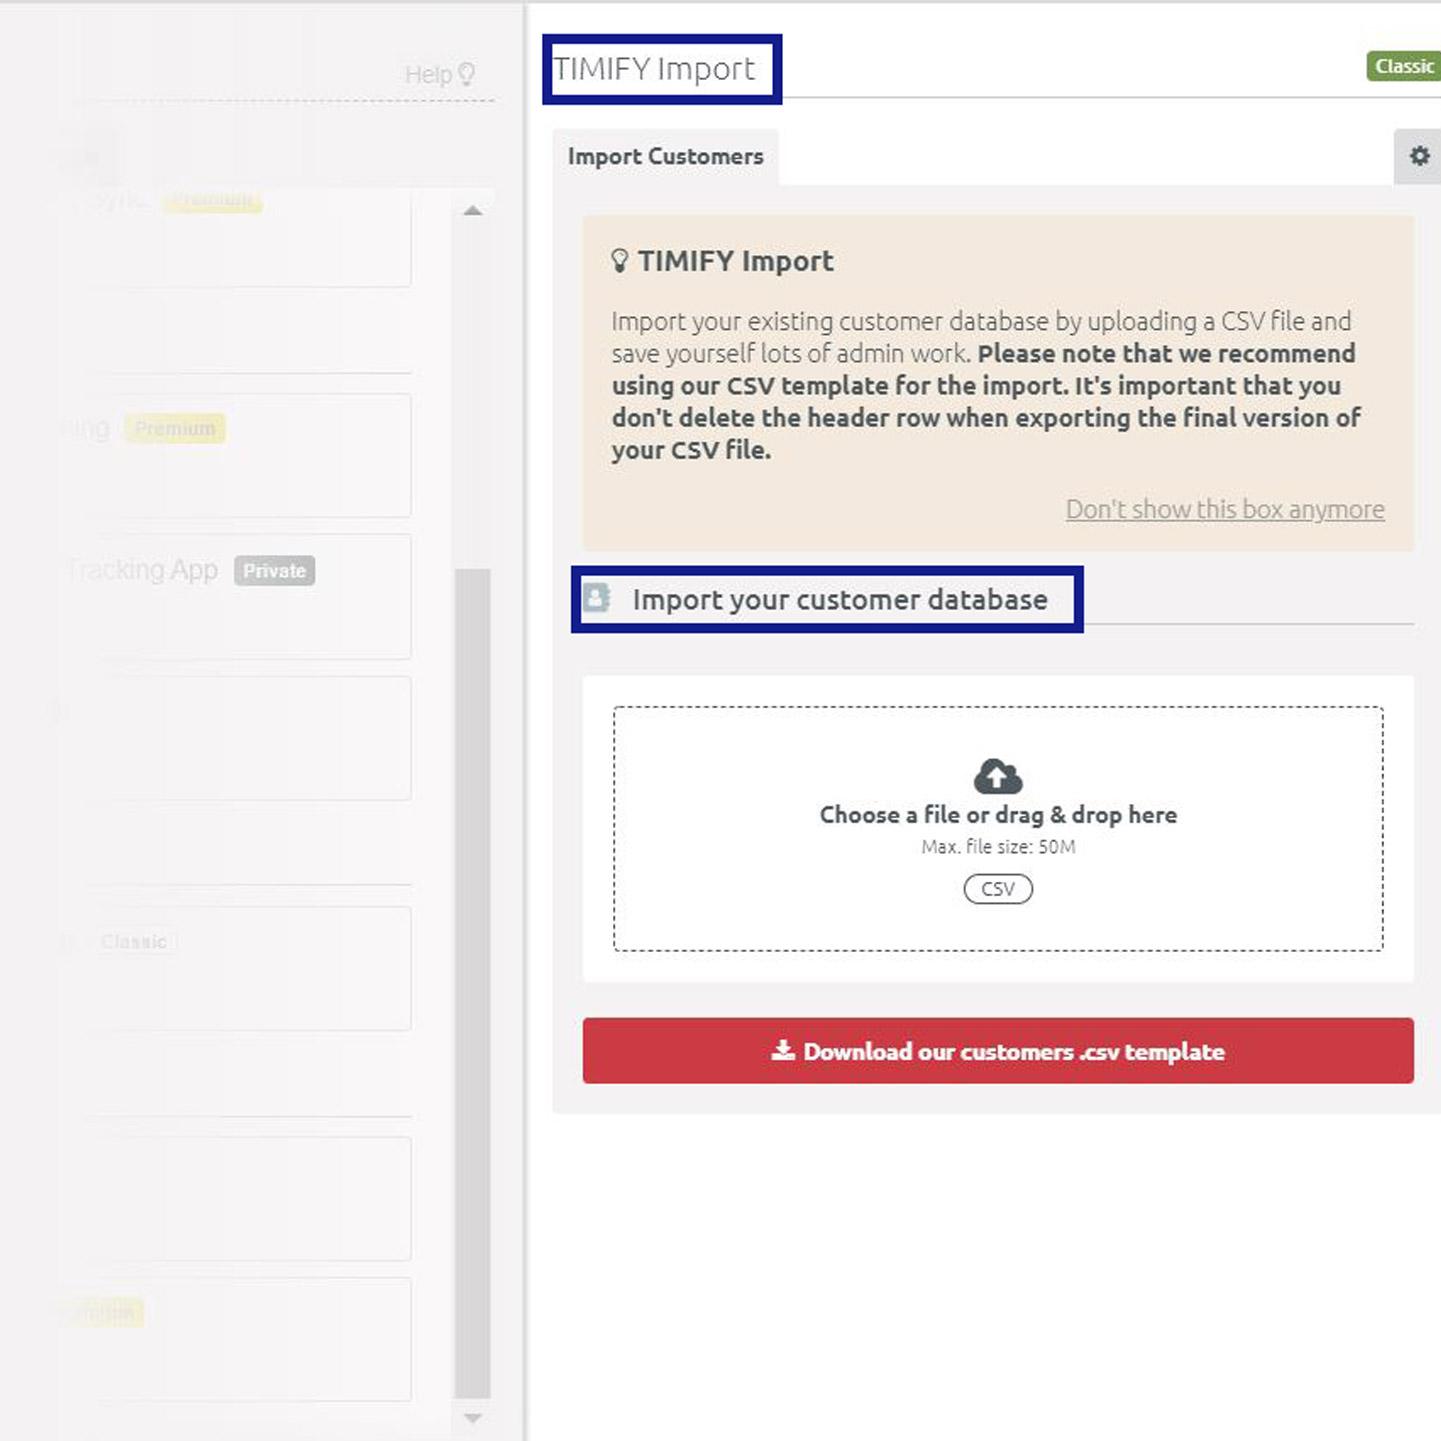
Step 3: Please download the example CSV file using the red button. You can now enter all your customer data into this file.
IMPORTANT!: The header line should not be deleted so that the data can be imported correctly into the ZEISS A.R.M. Platform.
Step 4: Go to the tab "Customer" >> "Data fields" in the ZEISS A.R.M. Platform. You can delete the header fields which are not required or are not active data fields.
Step 5: In the section "Import customers" on the Import app you can now drag and drop the CSV file into the box (marked below in the screenshot) or click on the box to select and upload the file from your computer. Once your CSV file is uploaded, you have to match the data fields in ZEISS A.R.M. Platform with the data fields in your CSV file by selecting the appropriate header line from the uploaded CSV file.
When you are done, click on the red button at the bottom of the page and your customer data will be imported. If you get an error with matching data fields, the rest of the data will still be imported, excluding the one having the issue.
Tip: The mobile phone number always has to start with the + sign following the country code. To add the plus sign in front in Google Sheets, you need to write it with a single apostrophe '+ to record it as plain text.