
Service Management
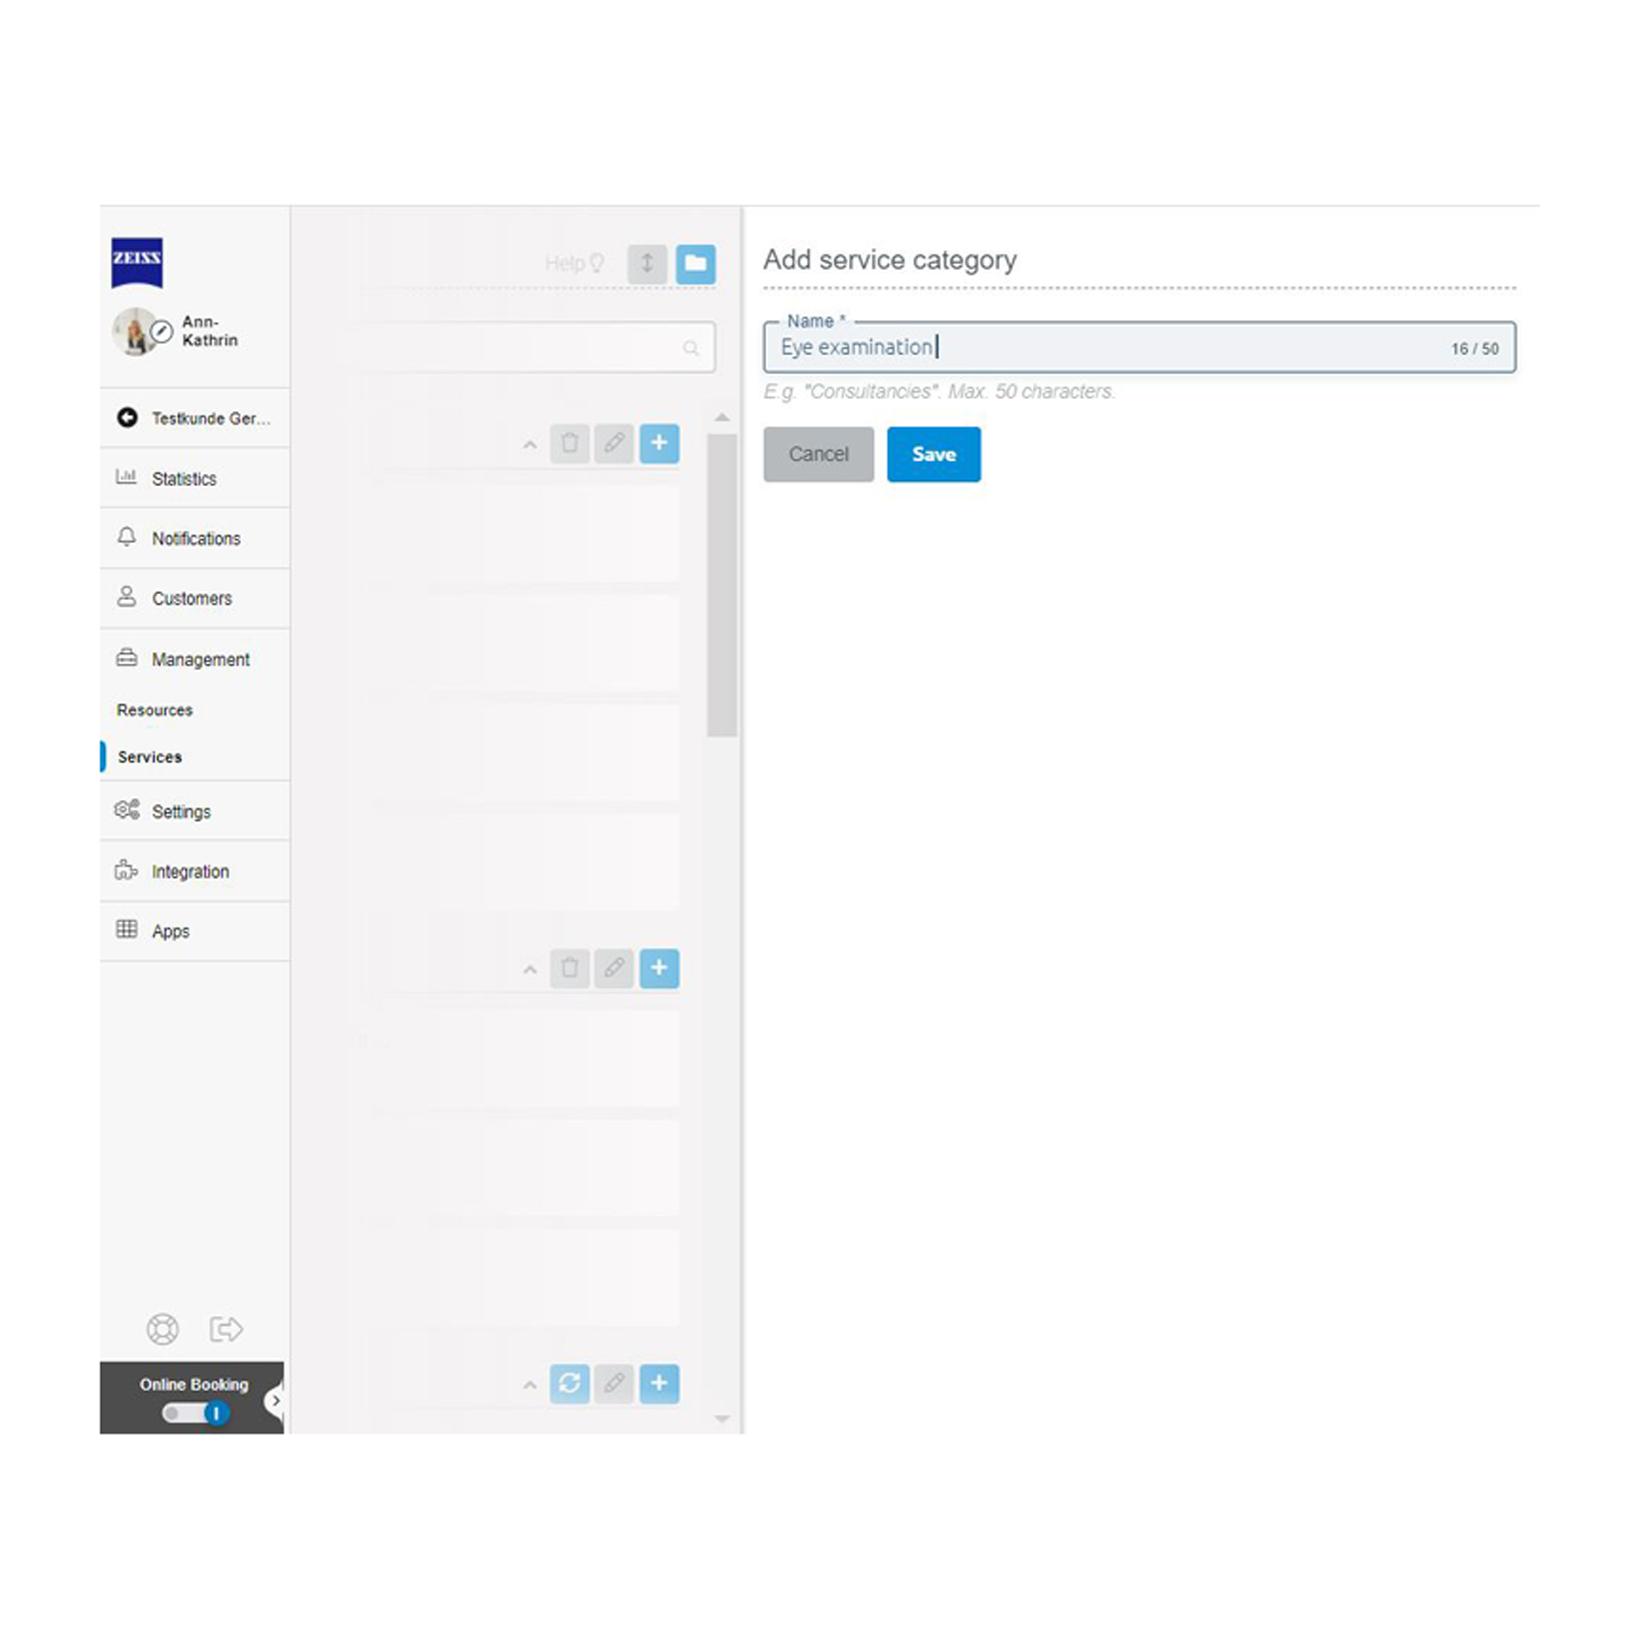
Holistic and easy service management.Create your services with a fixed or interval-based duration, with buffer times or pre-defined booking availability and decide which services are online bookable via the online booking widget.

How to add services to the ZEISS A.R.M. Platform
Configure the services that you offer to your customers and set which services consumers can book online (green marking). Once you've added your services, you can add them to the bookings in your calendar, plus of course have them appear in your Booking Widget so customers can book them online.

How to add a service
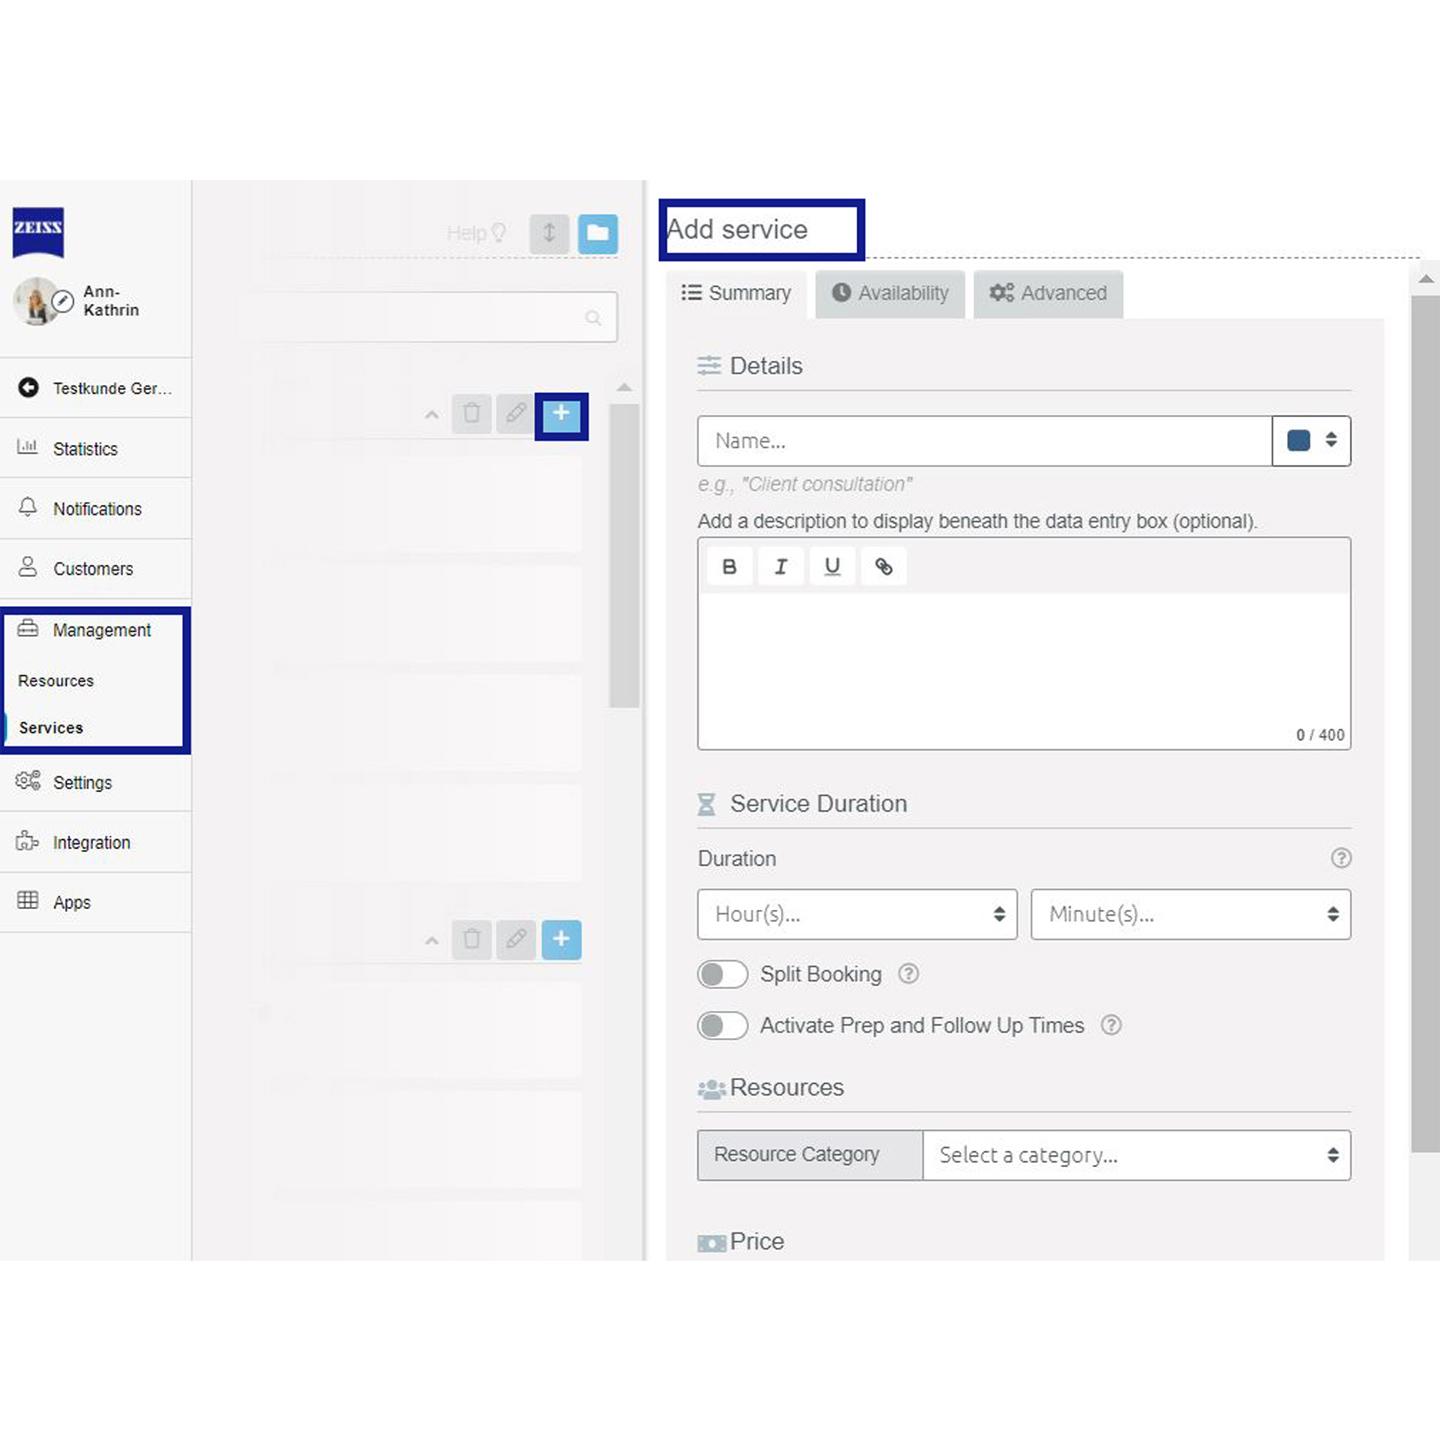
- From your ZEISS A.R.M. Platform account, go to "Management" >> "Services". Scroll to the category you want to add a service to, then click on the ("+") button in the top right and enter the name of your service.
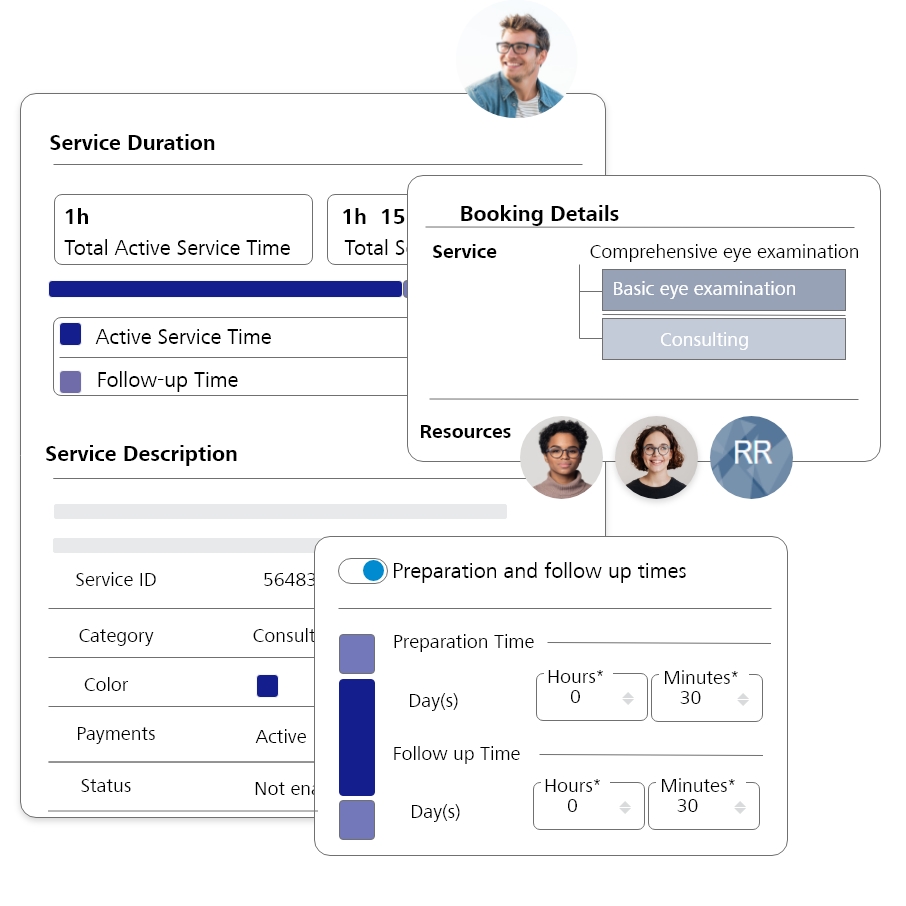
- Give your service a name and add a description to reduce ambiguity. Both will be visible to your customers when they book an appointment online.
- If you wish, you can also allocate a colour to each service. Bookings made with this service will display in your calendar in this colour every time, so you immediately know which service that booking contains. Now enter the service duration.
- Next, select the resources that should be "linked" i.e. made dependent to the service. You can enter a price for the service, that will be shown to the customer during the booking process.
- Also, with only one click, you can select if the service should be available for online booking.

How to assign services to a category
If you offer many different online booking services, you can divide them into different categories. This will help your customers find and book the services they want, faster.

How do I create a new category?
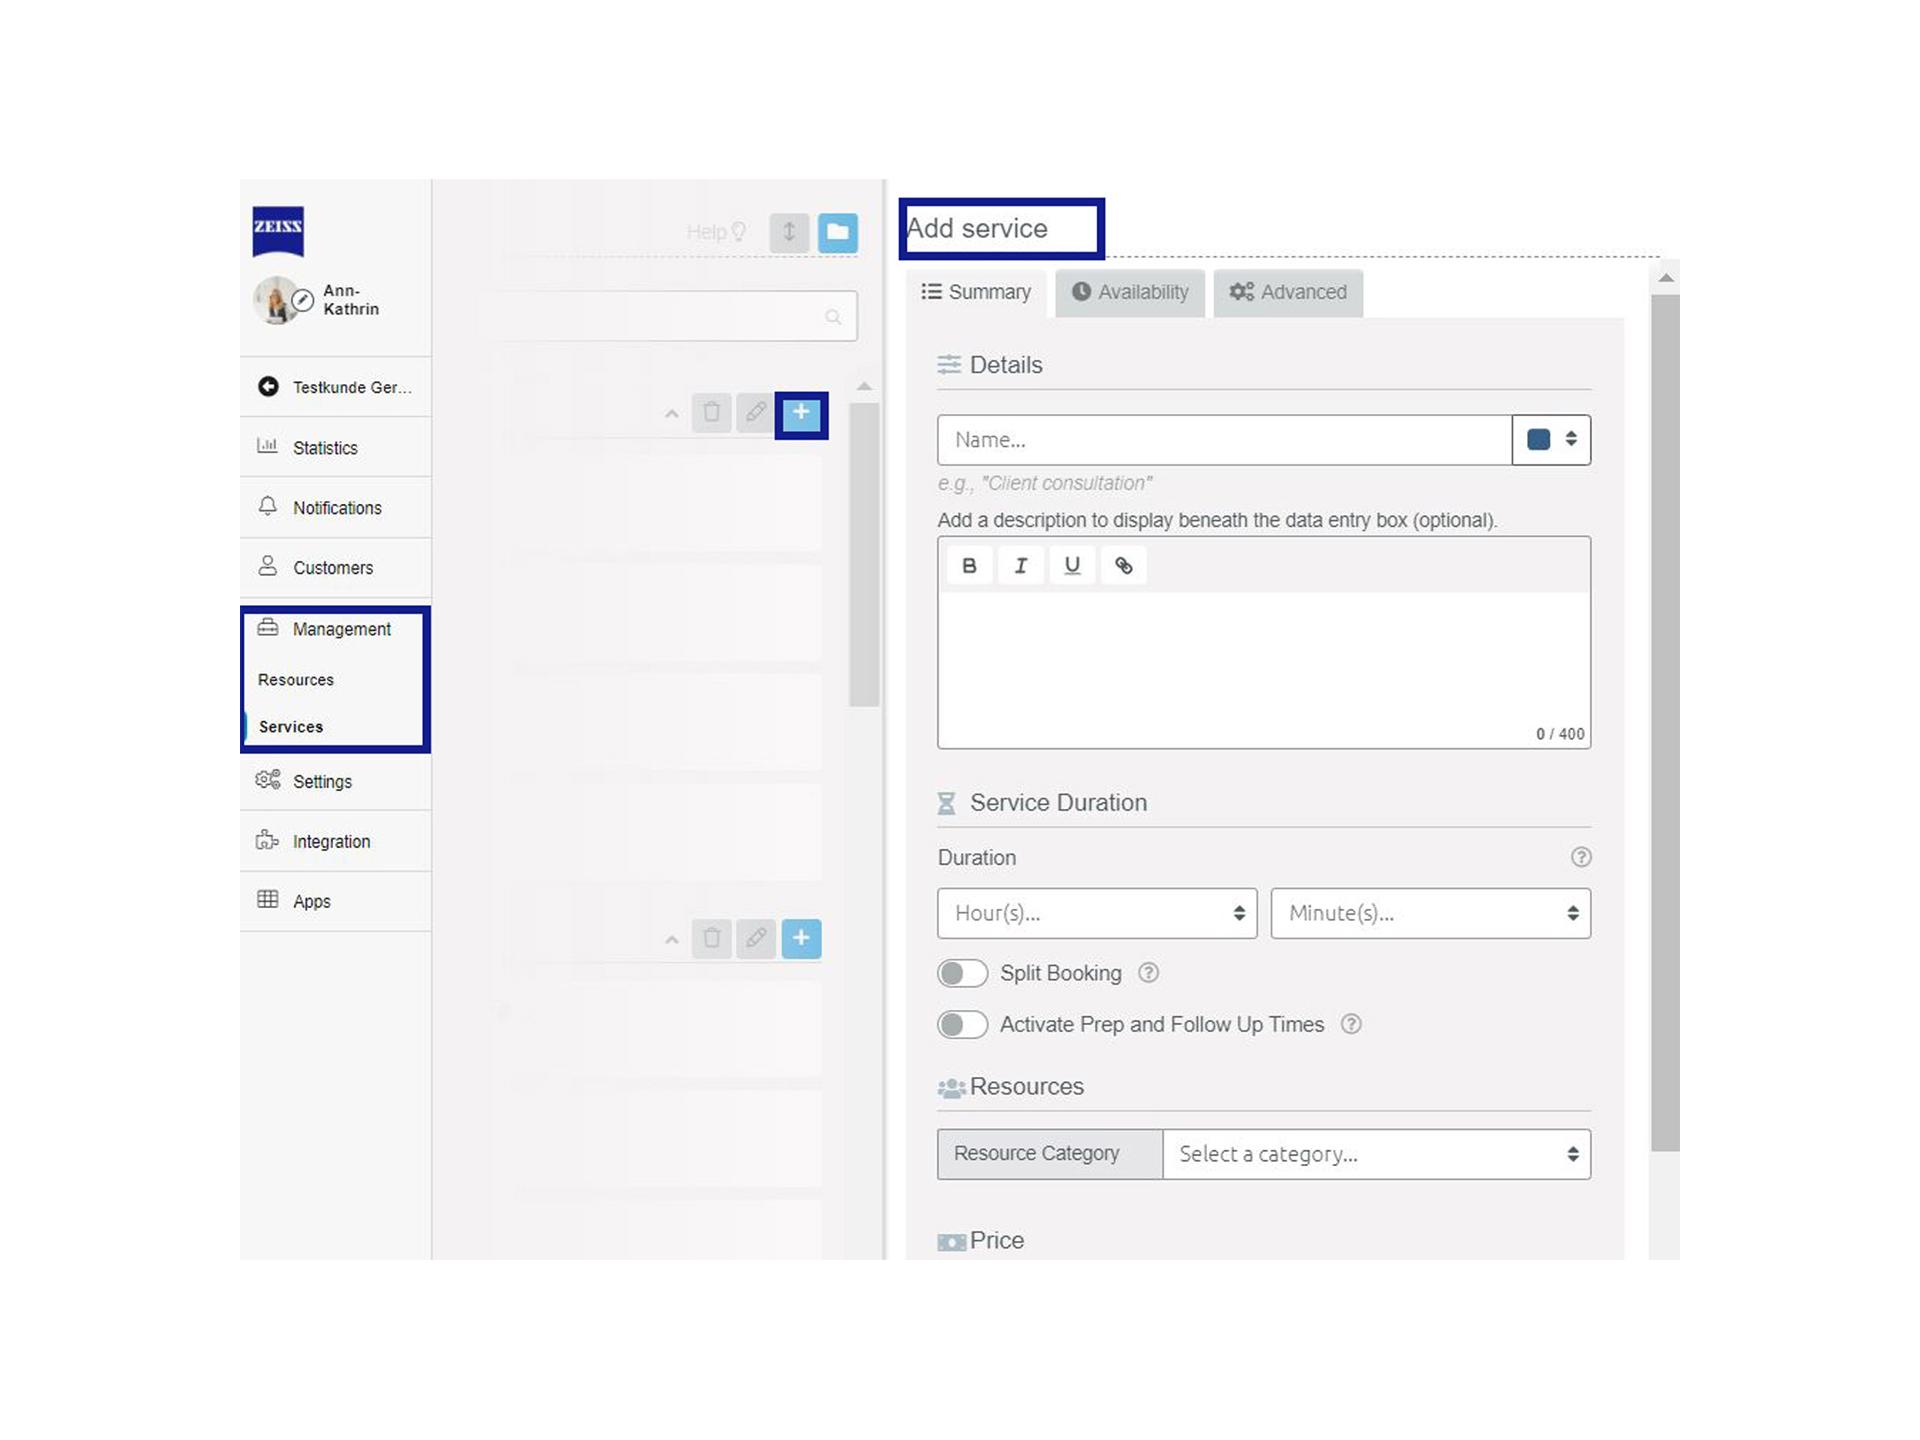
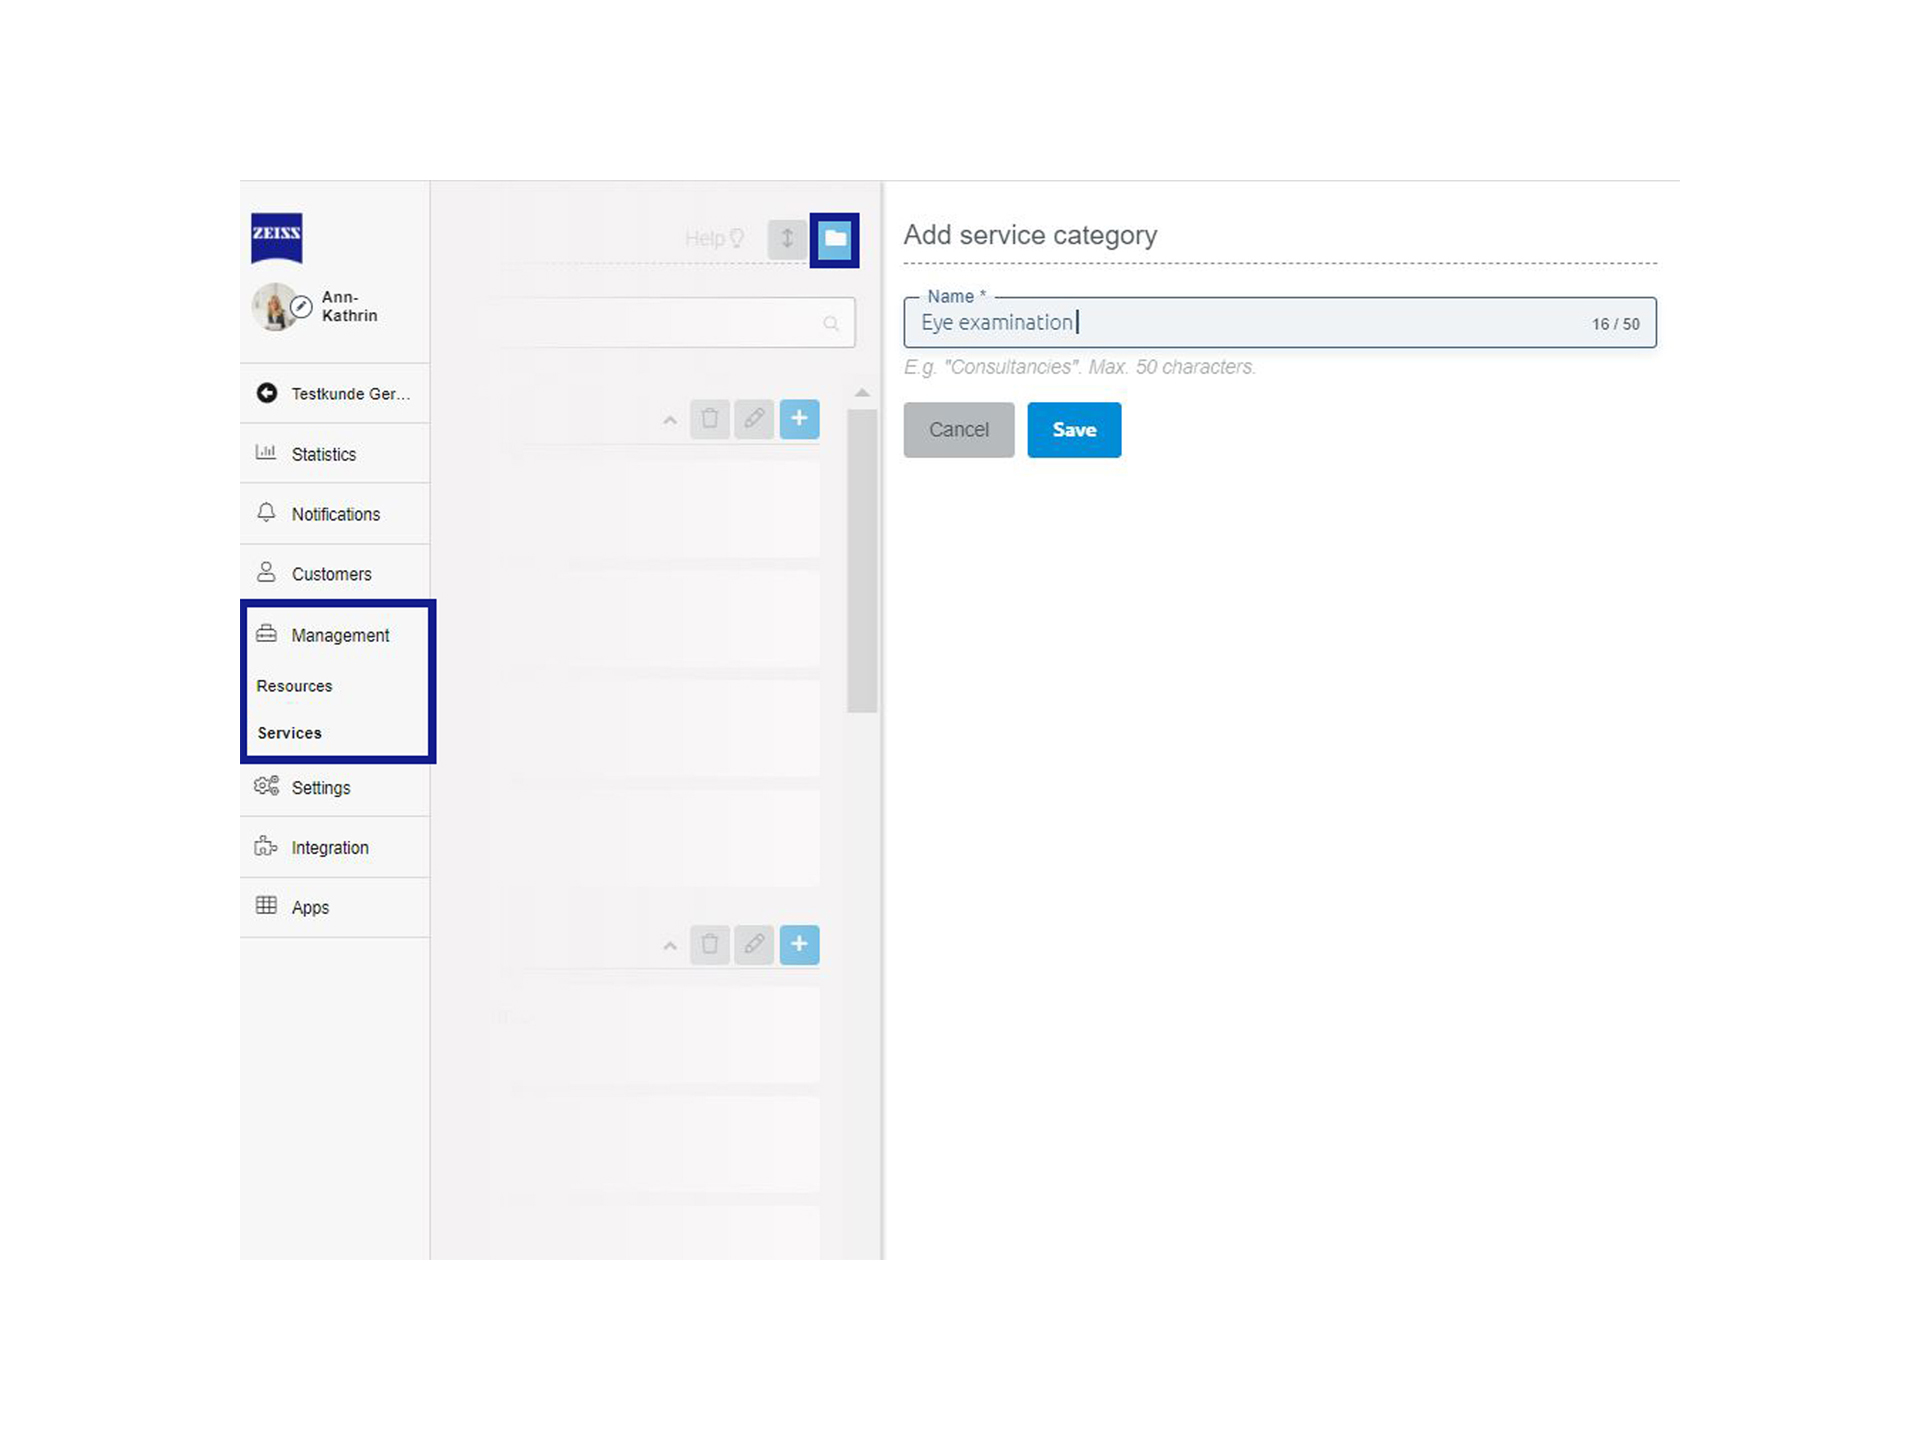
- In your ZEISS A.R.M. Platform account, go to "Management" >> "Services".
- Click on the folder button in the upper right corner to create a new category.
- Now enter the desired category name and select the services to be assigned to this category.

How to use our Split Bookings Setting
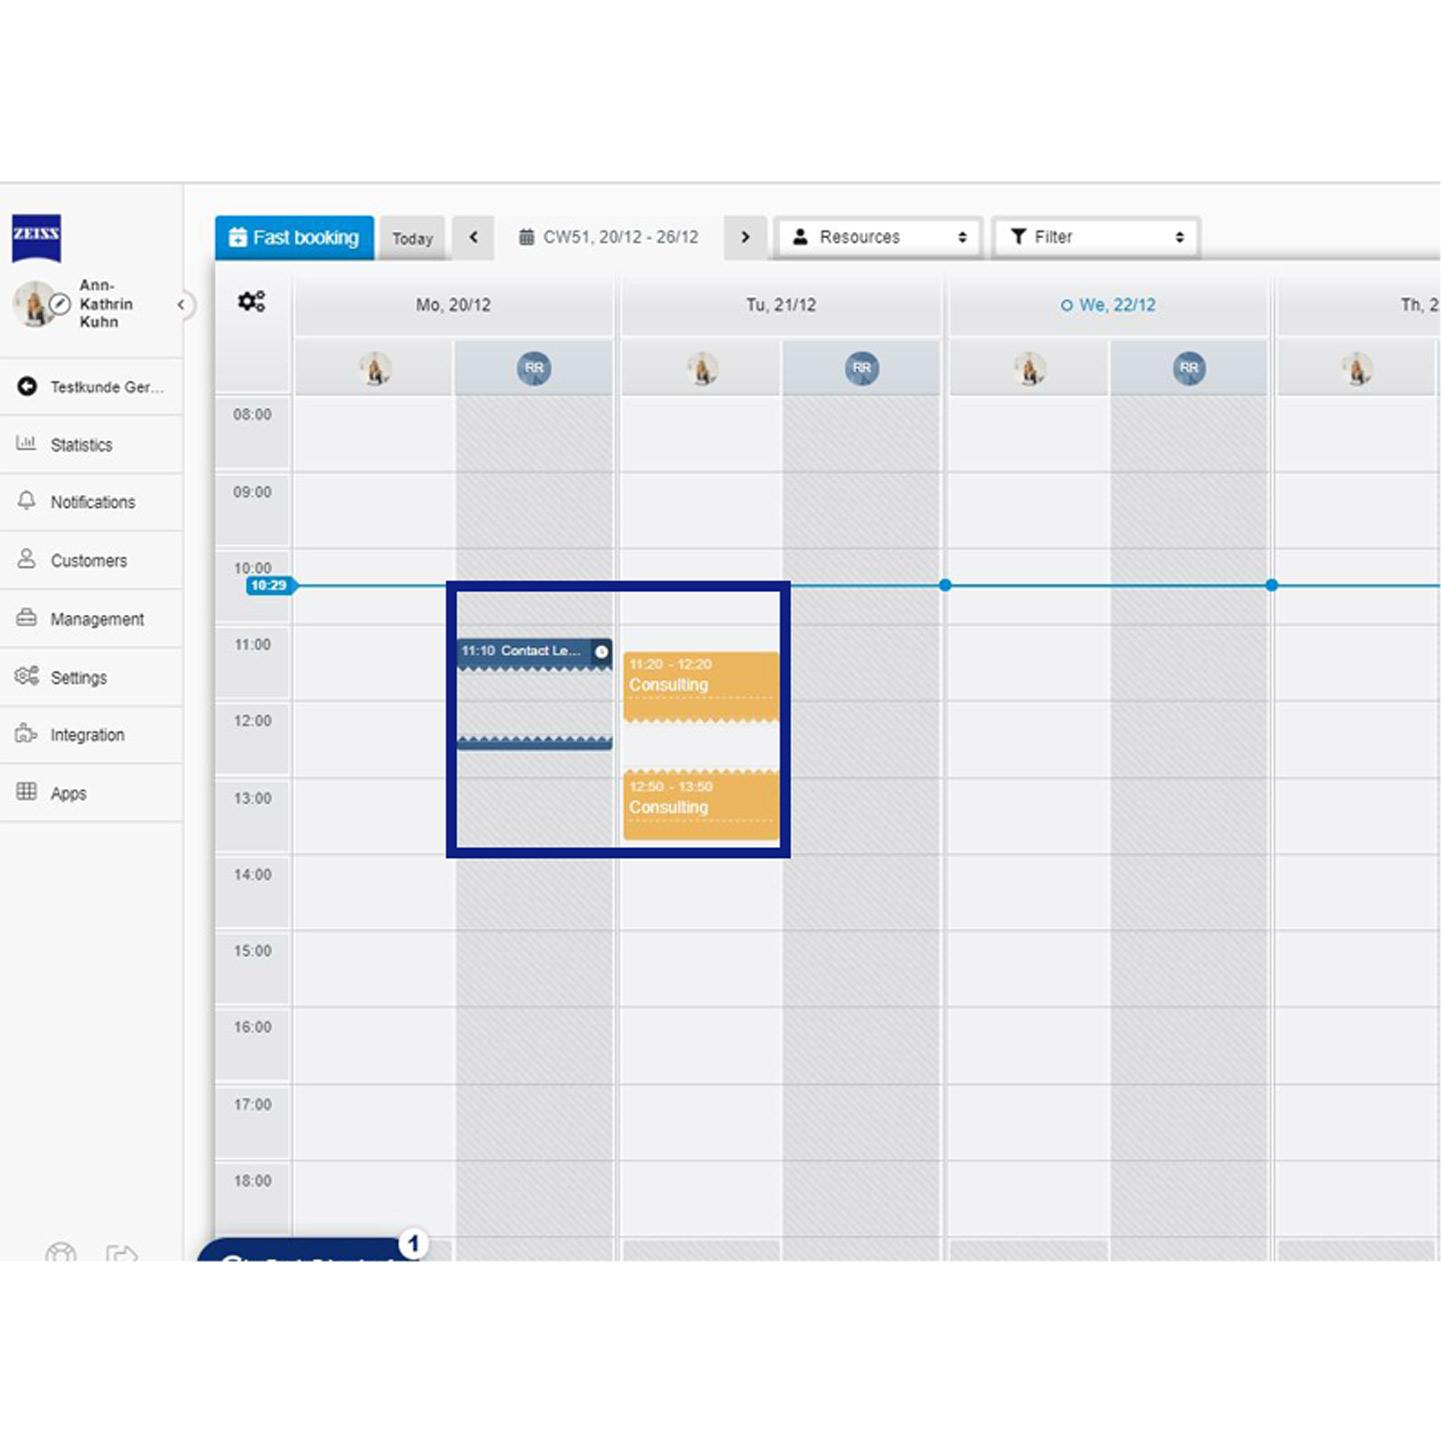
The Split Bookings feature allows you to break up a booking into a series of work intervals and gaps. This feature is useful for services you offer that have break times e.g. services with contact lenses. You can allocate the resources involved elsewhere during the "gap" times. Split bookings enable you to use the time in between different parts of the appointment for other appointments.

1. How do you create a split service or appointment?
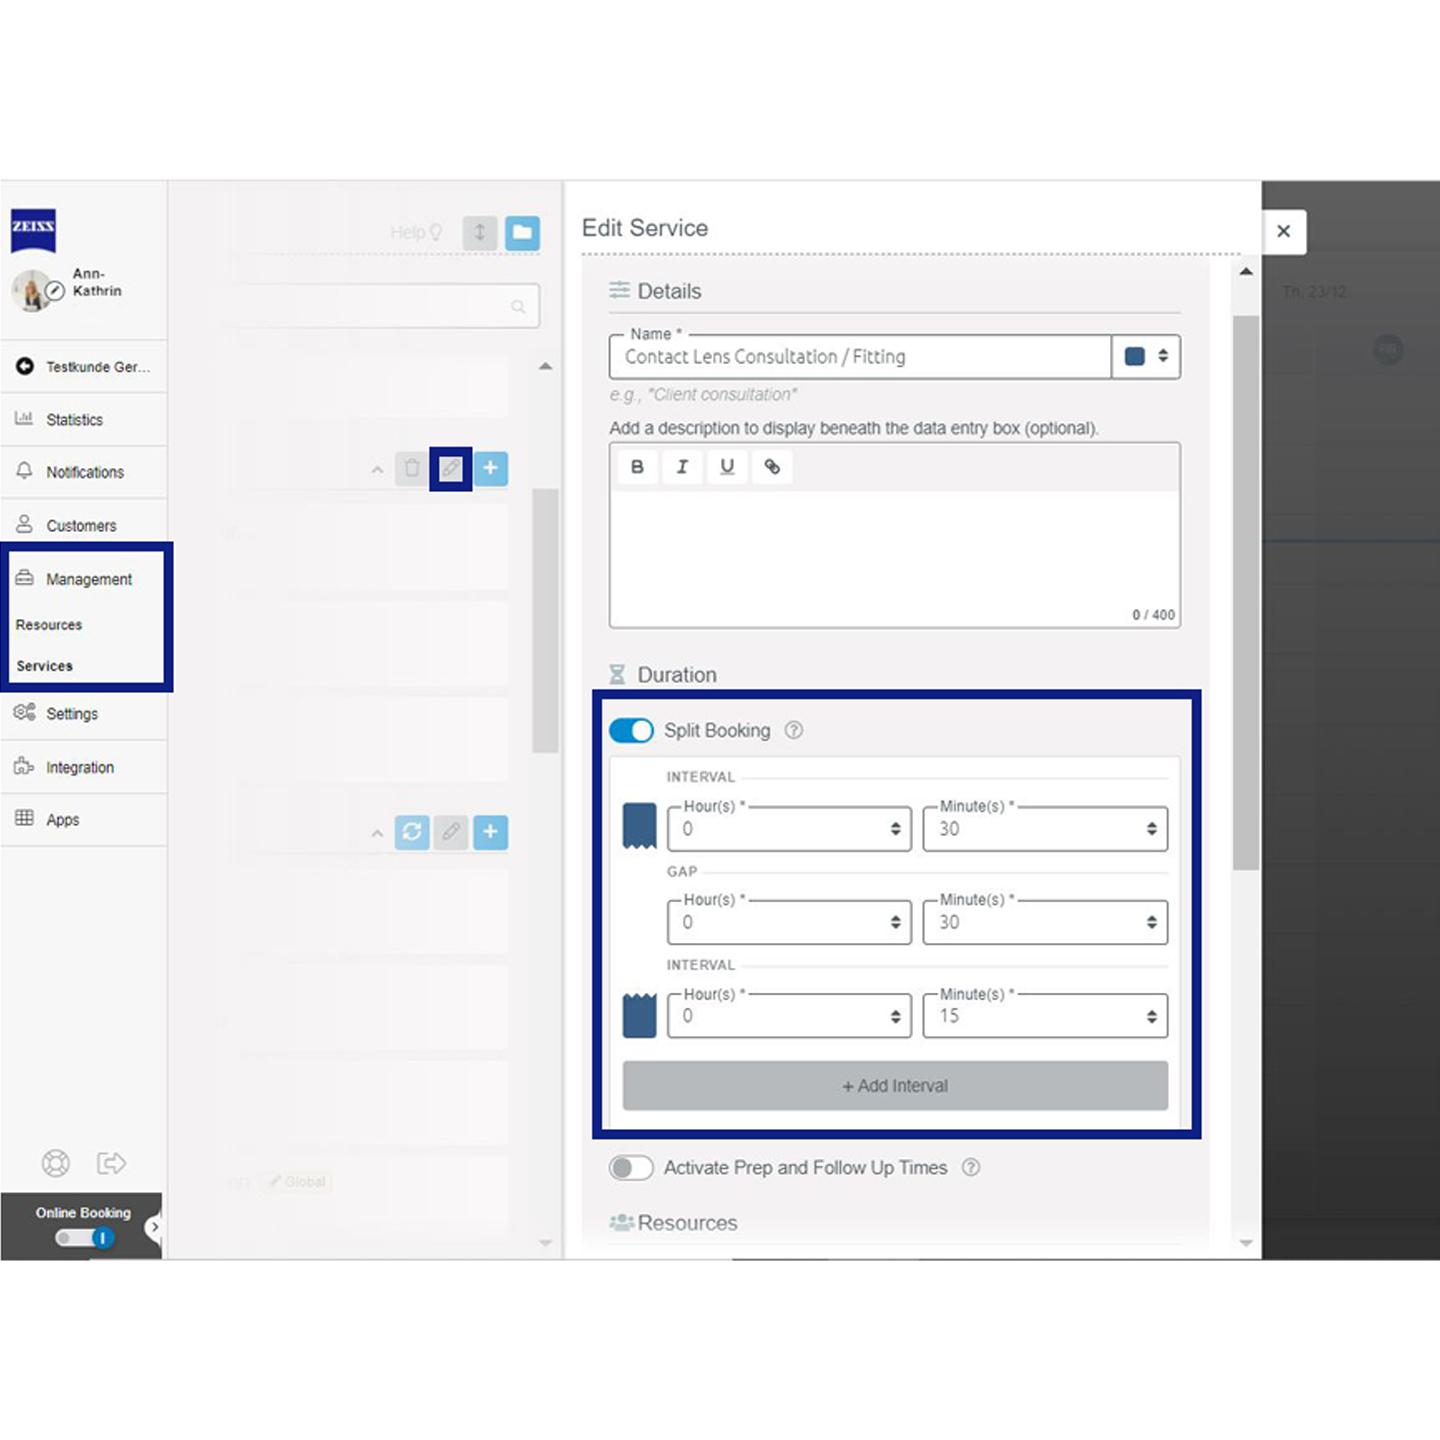
- Go to the "Calendar and Booking Form Settings“ and activate the "Booking Form: Split Booking“ settings.
- As soon as you create a new service in the "Management" -> "Services" section, you can activate the "Split into intervals“ for this service.

2. How to delete a split booking
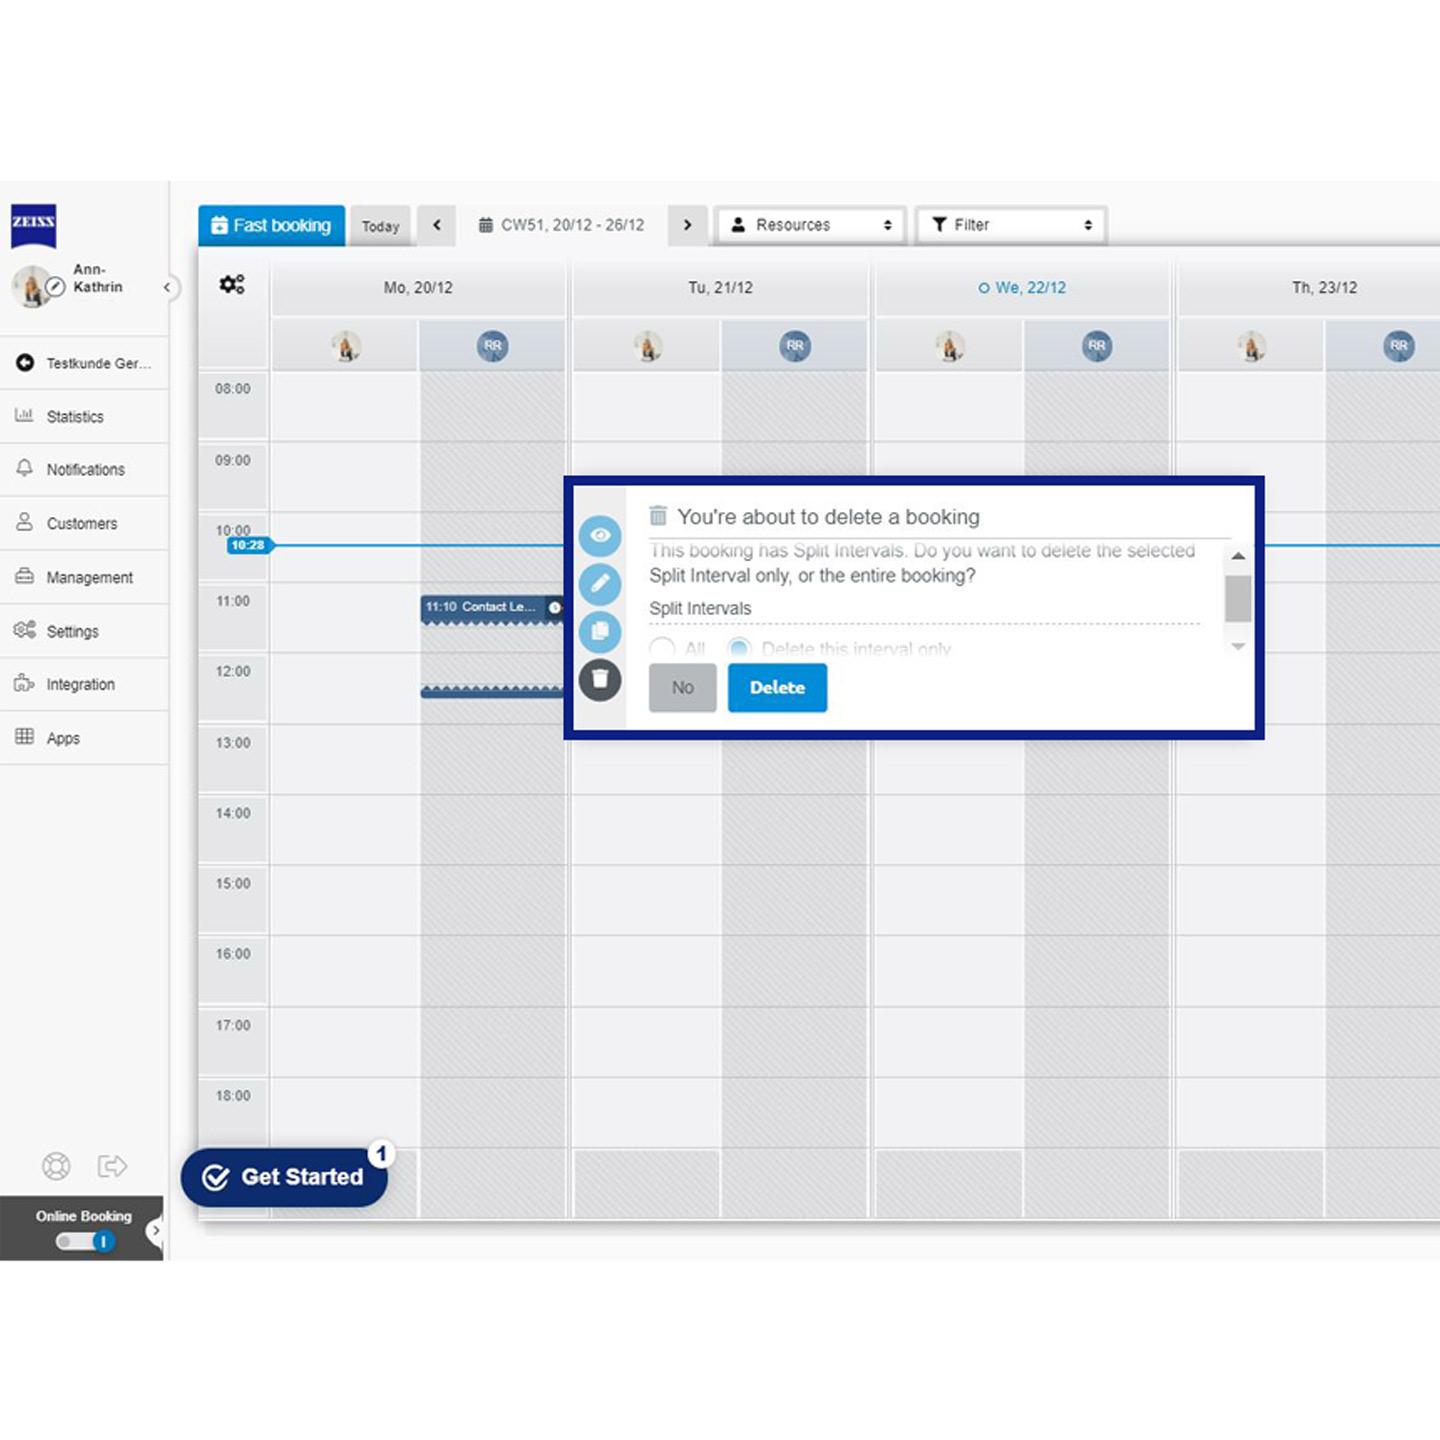
Just like with a "regular" appointment, you can also delete split appointments. Here you can decide whether you want to delete both intervals at the same time (e.g. customer does not attend the appointment after all) or only one interval (e.g. customer does not need "follow-up treatment").

How to use the Combined Services Feature
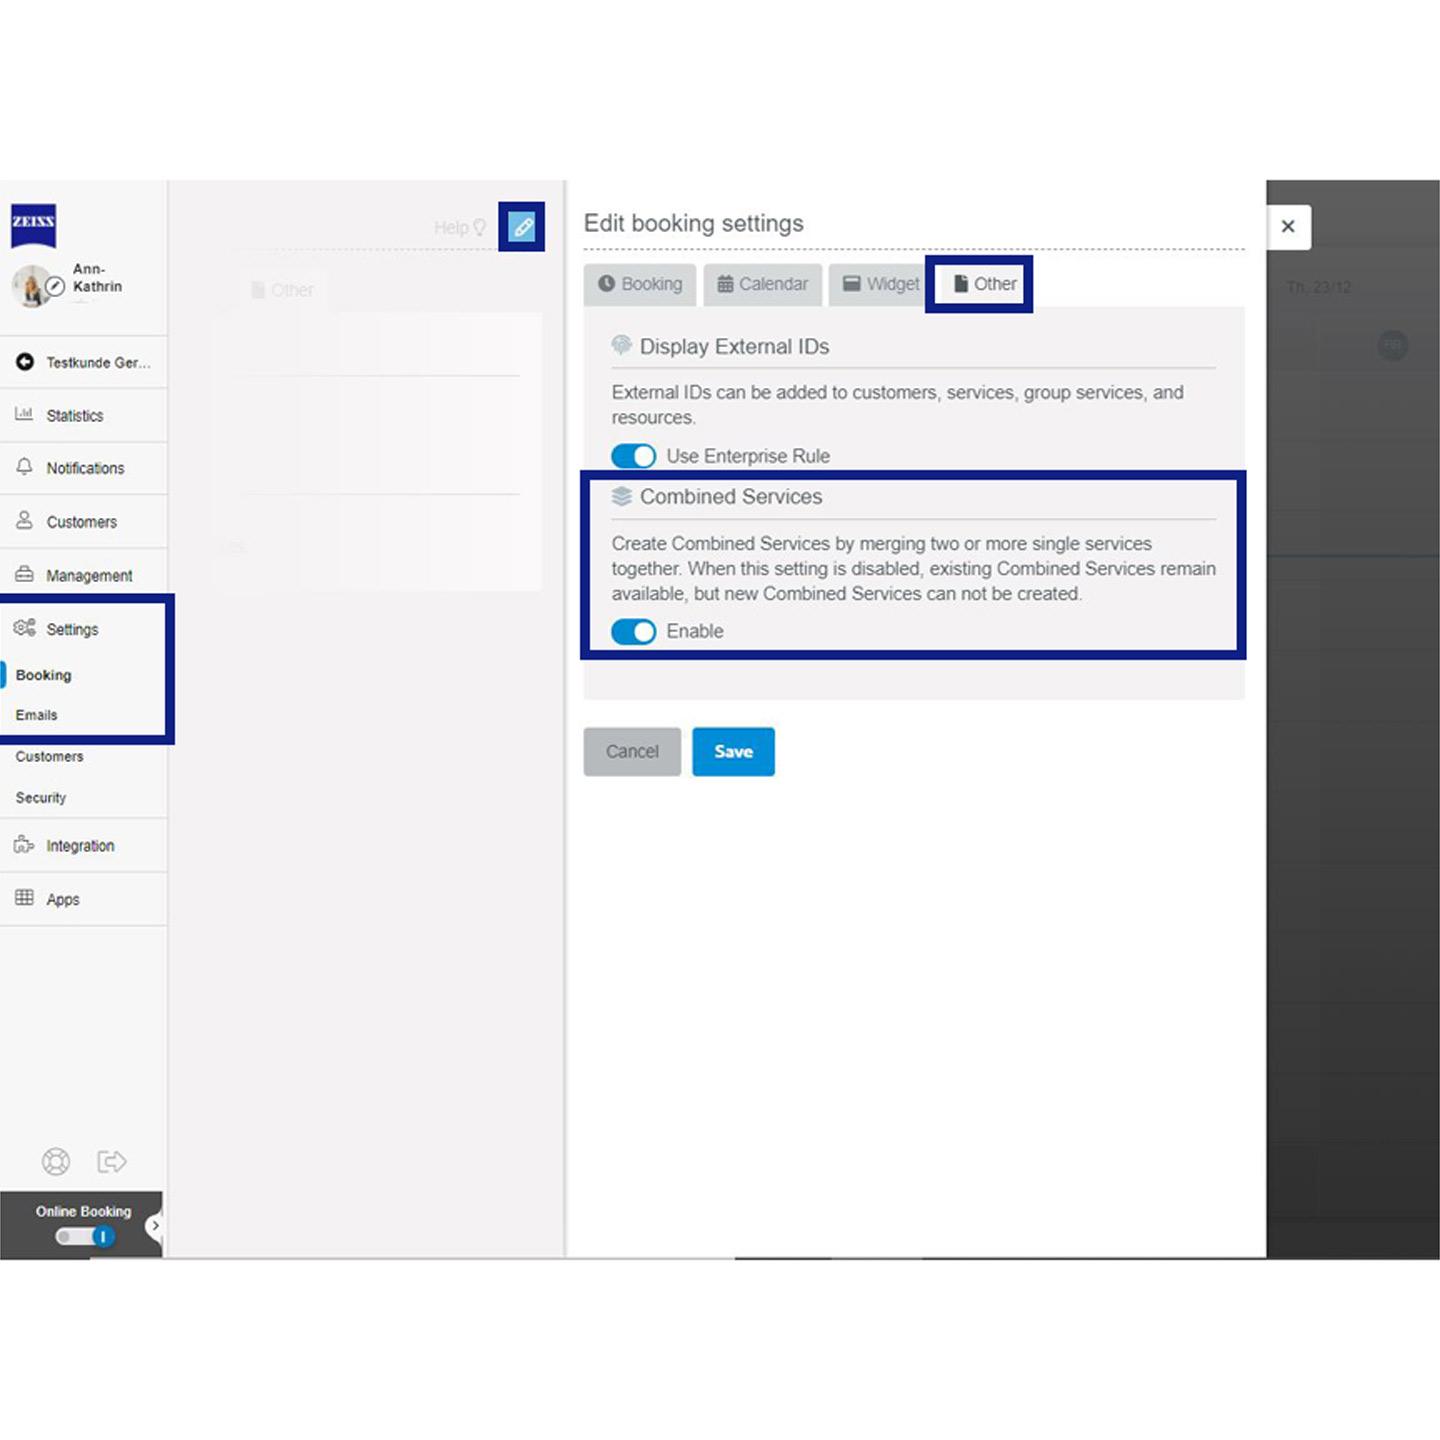
Combine popular services so they can be booked together on your calendar, and your booking widget. If you have services that are often booked alongside each other, for example, a basic eye examination and a consultation, - this feature makes it possible for you to combine those services together, for you and/or your customers to book in one. First you have to enable this feature in your settings. Go to the tab "Settings", "Bookings", and click on the "Other" tab. Then click the "edit" icon. Enable the setting, and save your adjustments.

How to add a combined service
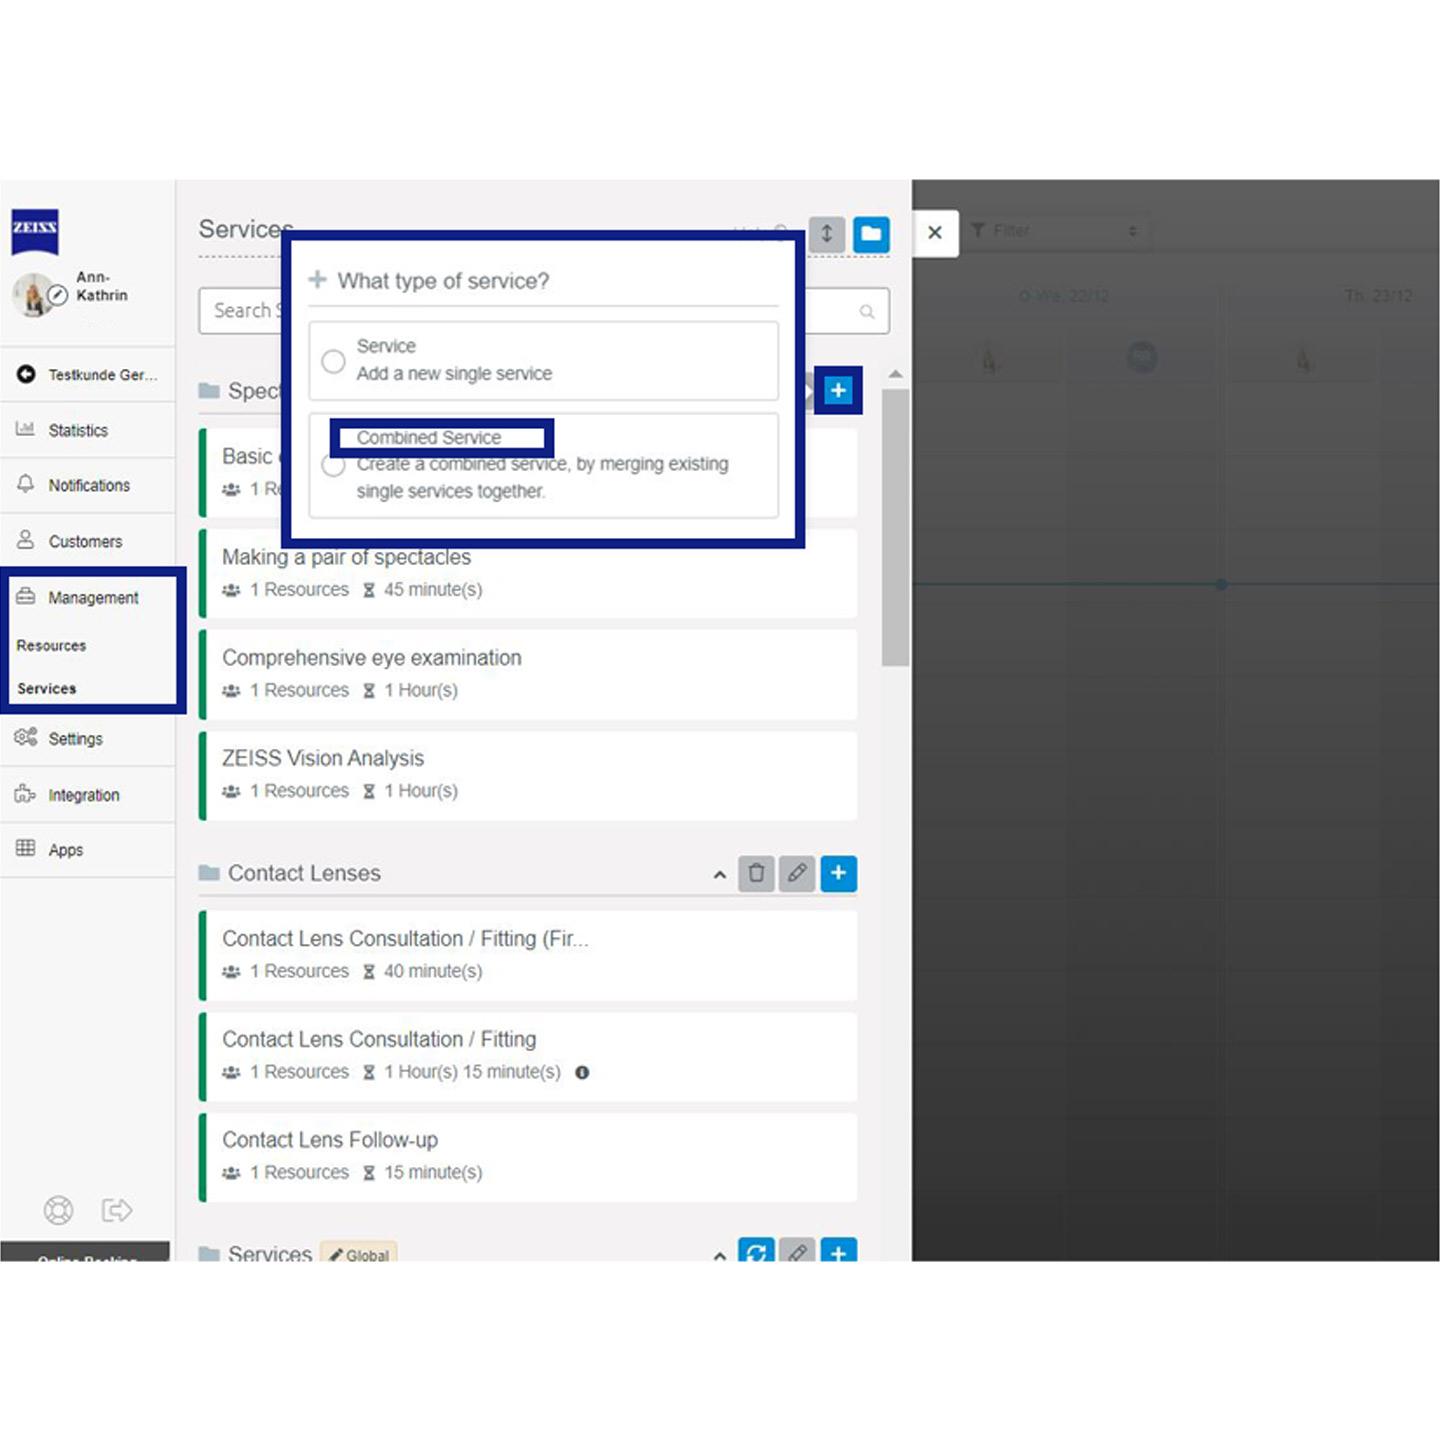
Go to the tab " Management ", " Services ", then click the "+" add service icon. You'll be prompted to choose which type of service you want to add. Select "Combined Service “. Adding a Combined Service is similar to adding a regular single Service, however, a few things are different
- You can not add Services with Intervals ("Split Bookings")
- If you select single Services that contain Prep and Follow Up Times, these times are not included in the Combined Service
- In your Calendar View, each Service will still appear the same - whether or not the services have been booked as parts of a Combined Service, or separately.
- A Combined Services Price is calculated automatically by the system: the total cost of all services individually. However, you can add a different price if you want.
- If a Combined Service has a Single Service that is only available on Mondays, for example, the Combined Service is also restricted in the same way

How to use the Service Allocation Group Feature
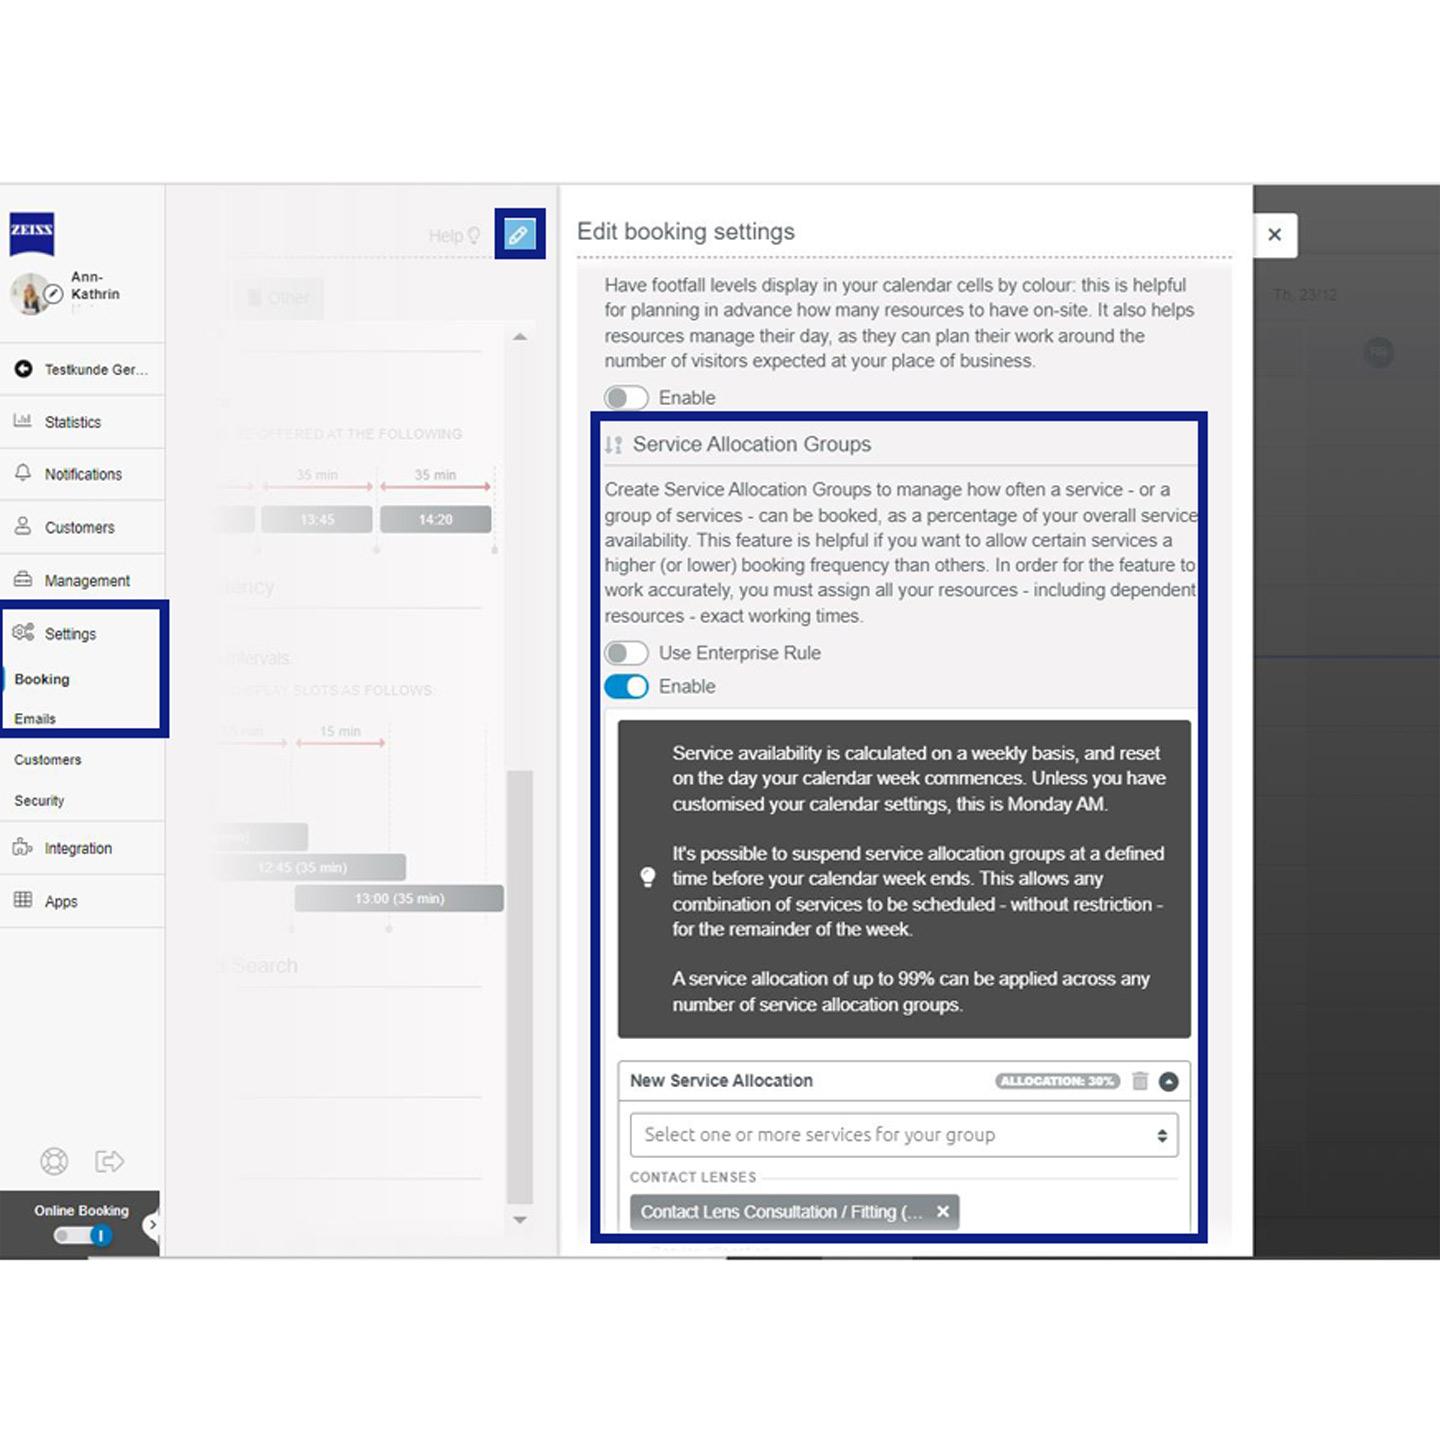
Create "Service Allocation Groups" to manage how often a service - or a group of services - can be booked from your account, as a percentage of your overall service availability. This feature is helpful if you want to allow certain services a higher (or lower) booking frequency than others. In order for the feature to work accurately, you must assign all your resources - including dependent resources - exact working times.
To use this feature you have to activate it in your settings. Go to the tab "Settings", "Bookings", and enable the feature "Service Allocation Groups". Create a service allocation by selecting one or more services. Assign your preferred percentage to this service allocation. Define the availability for this feature in the settings below on your calendar and/or on the booking widget. You can also define the duration for your service allocation. If don't want service allocations to apply to the entire week, select this option. You can define how far from the weekend the suspension should come into effect. This allows any combination of services to be scheduled without restriction.